Are you looking for a fun and creative way to add some flair to your home decor? Today, we’re diving into a unique DIY project: crafting a beautiful 3D painting. This project is perfect for anyone who loves to experiment with textures and colors. Let’s get started and make something amazing together!
Hey there, friends!
Today, we’re diving into a fun and creative project: making your own 3D textured painting!
With just a few simple materials and some creativity, you’ll be able to create a unique piece of art that adds a stylish touch to any room.
Let’s get started and bring your artistic vision to life!
Materials Needed

- Canvas
- Paintbrush
- Pencil
- Scissors
- Thick twine
- Acrylic paint
- Hot glue gun
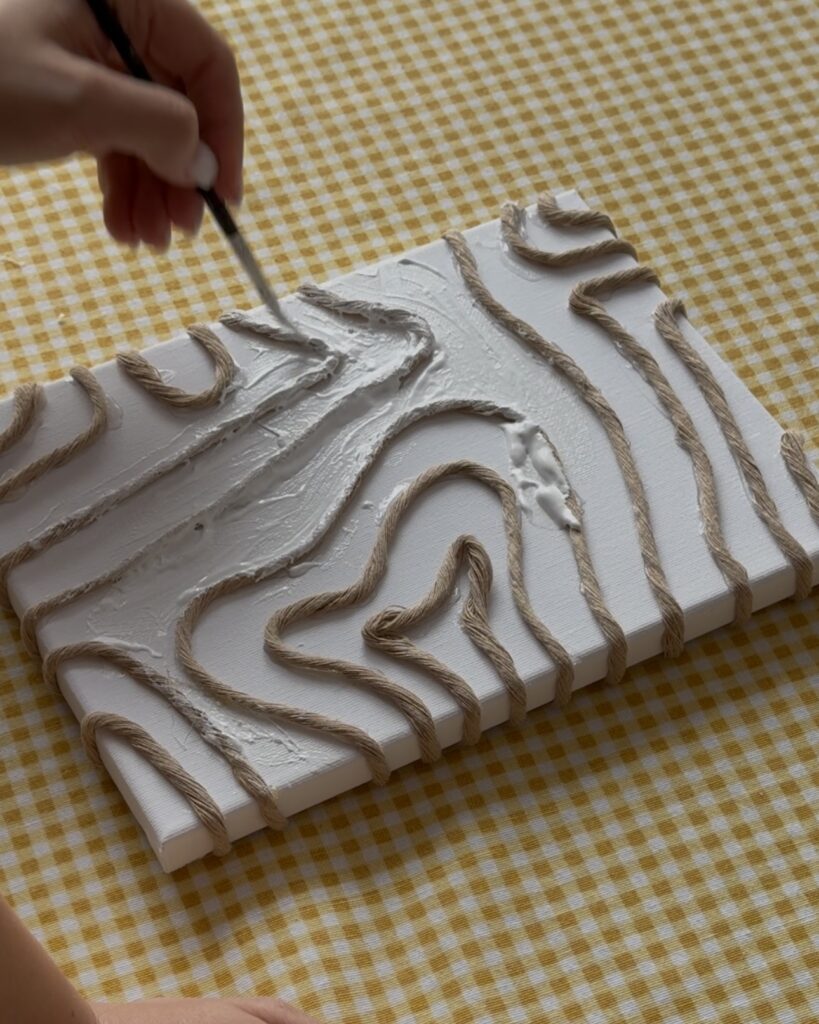
Step 1: Draw Your Guide Lines
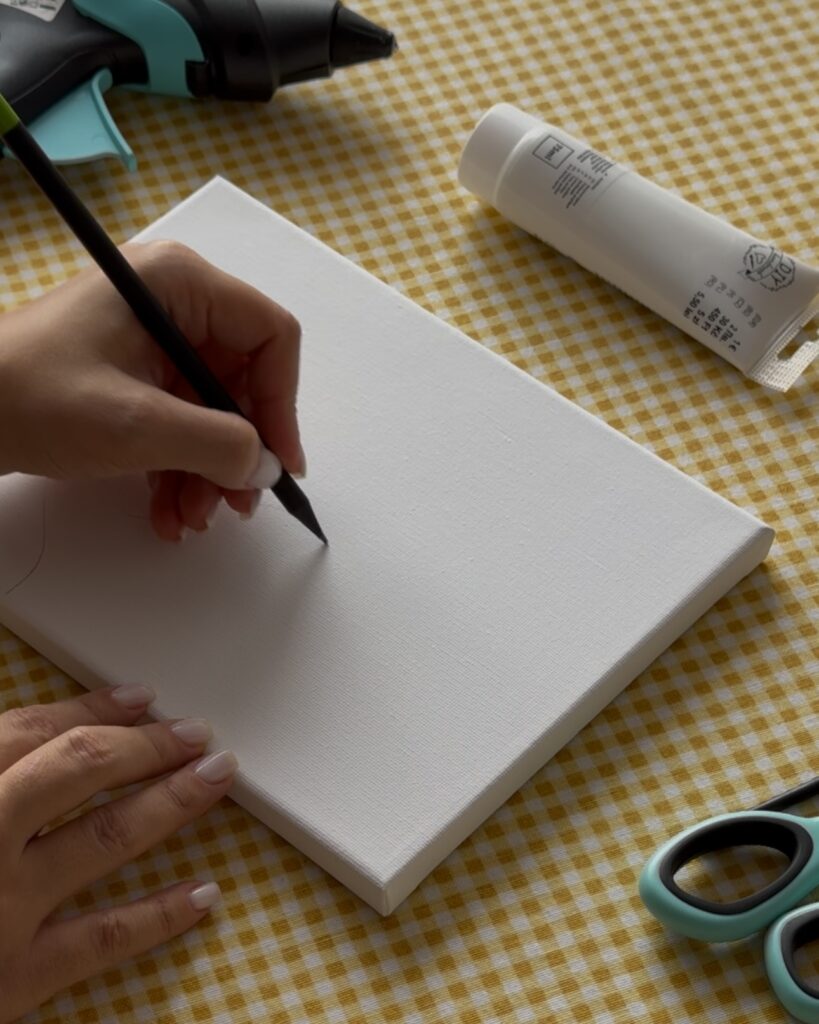
First, take the canvas and draw a few lines with a pencil to guide where you’ll glue the twine. These lines will serve as your blueprint.
Step 2: Glue the Twine

Once you’ve drawn the lines, start gluing the twine along the outlines.
Be careful not to burn yourself with the hot glue.
Leave the ends longer so you can glue them to the back of the canvas later.
Step 3: Secure the Twine Ends

After you’ve glued the twine lines, make sure the hot glue has dried well.
Flip the canvas over and glue the loose ends to the back.
Wait for the glue to dry completely and then trim any excess length.
Step 4: Paint Your Canvas

Now it’s time to bring in the paint. Carefully paint each part of the picture, paying attention to the details.
If the color isn’t vibrant enough after the first coat, wait for it to dry and paint it again.
Don’t forget to paint the edges of the canvas as well.
Step 5: Final Touches
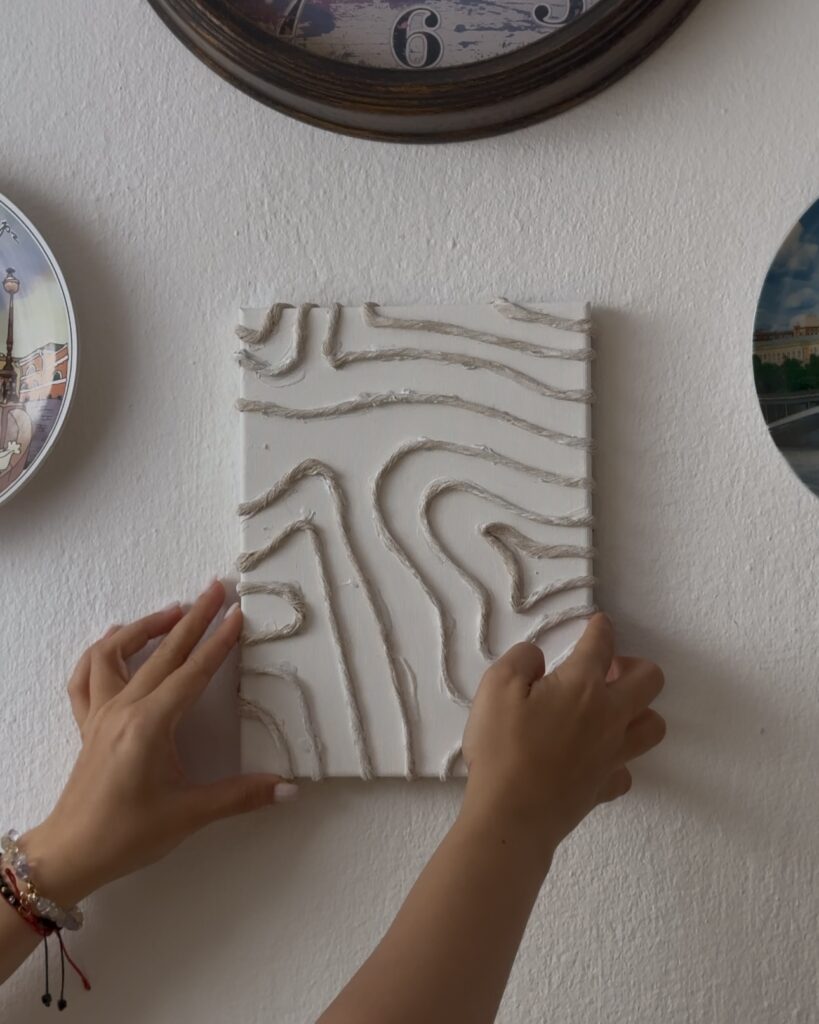
Wait for everything to dry completely. Once dried, your 3D textured painting is ready to be displayed.
This unique piece of art can beautifully decorate your home or serve as a wonderful gift.
Enjoy your new creation!