Here’s exactly how to decorate Easter eggs in a way that feels fun, doable, and actually cute even if your hands end up blue. I’ll walk you through classic dyes, natural colors from your kitchen, modern patterns, fancy finishes, and simple ways to display them without chaos.
I have decorated Easter eggs my entire life. With my parents. With friends. With kids hovering inches from open dye cups. With coffee going cold on the counter. With vinegar on my hands and blue dye somehow on my elbow even though I swear I never touched it.
And I still love it.
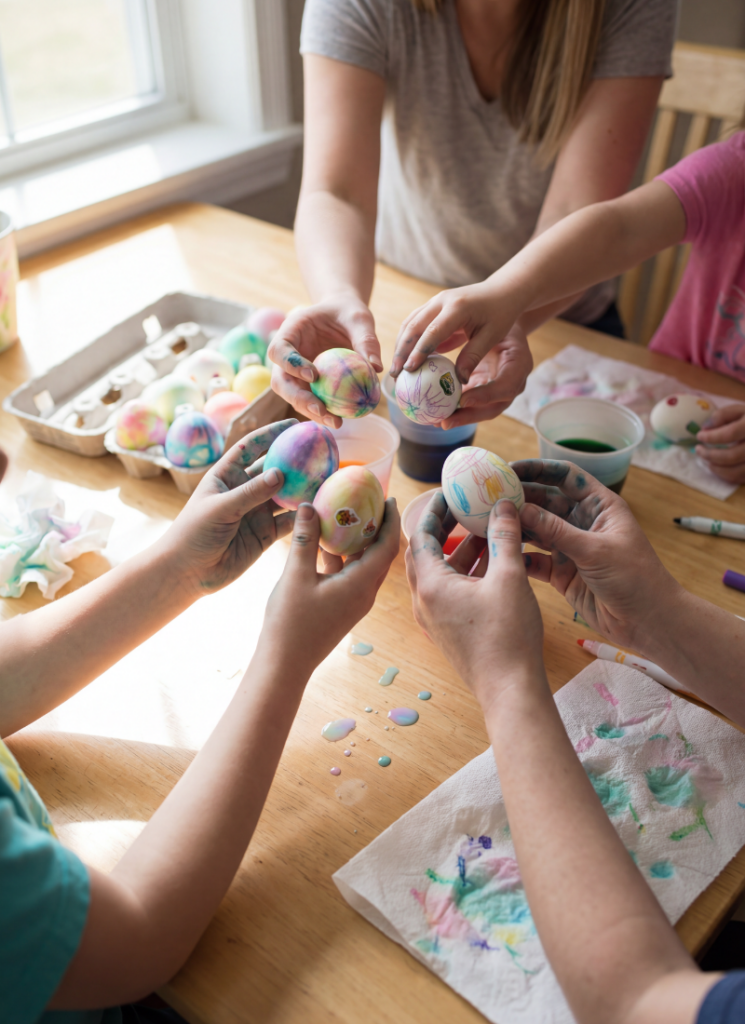
There is something deeply nostalgic and quietly joyful about sitting down to decorate Easter eggs. It is messy. It is imperfect.
It is one of those family Easter activities where the point is not the outcome, even though we all secretly want them to look good.
Here’s exactly how to decorate Easter eggs without stress, without fancy tools, and without that moment where you stare at a muddy green egg and think, “We’re done. We’re all done.”
We are covering everything. Traditional dyeing Easter eggs. Natural egg dye from your kitchen. Modern patterns. Creative finishes. Easy methods. Fancy methods.
Mistakes I have made so you do not have to. And yes, how to display them so they feel intentional and not like a science project explosion.
Let’s get into it.
Quick Start Cheat Sheet
- Best for kids: paper towel + food coloring (forgiving and always cute)
- Best pastel: cold eggs + fewer drops (soft and dreamy)
- Best vibrant: warm dye + longer soak (hello, saturated color)
- Best natural: onion skins + overnight soak (rich and earthy)
- Best fancy: oil marble + metallic dots (looks boutique-y)
- Best display-only: acrylic paint + seal (durable, no smudging)
Supplies You’ll Actually Use (And What You Can Skip)
Before we talk techniques, let’s talk supplies. You do not need everything you see online.
Essentials
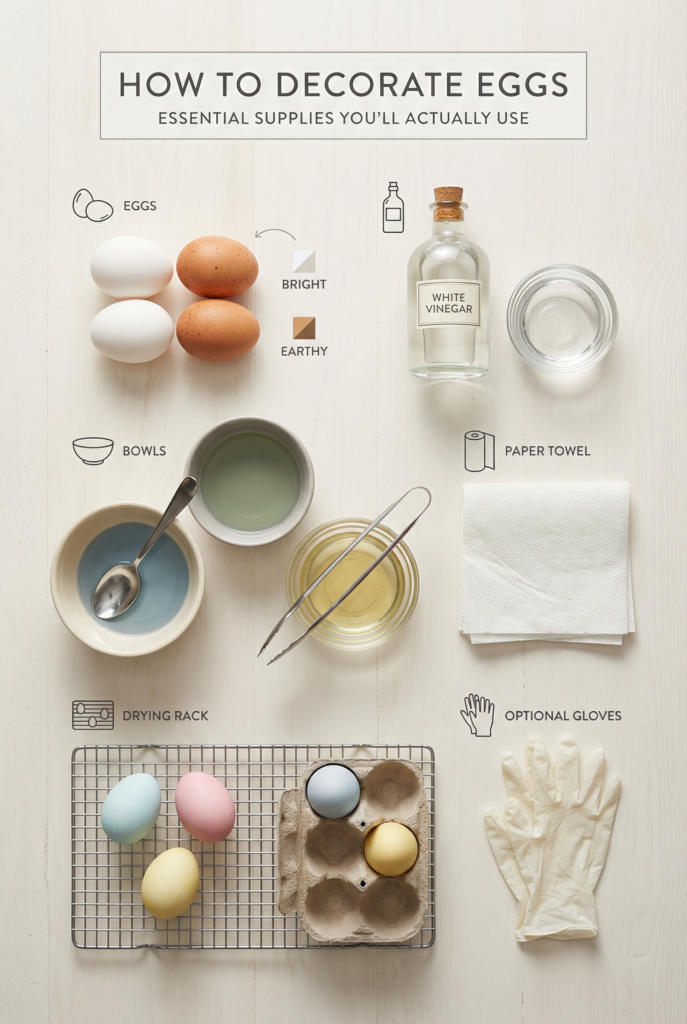
- Eggs (white for bright colors, brown for earthy colors)
- White vinegar
- Bowls or cups (glass or ceramic is best)
- Spoons or tongs
- Paper towels
- A drying rack or egg carton
- Gloves if you hate stained hands
Optional but helpful
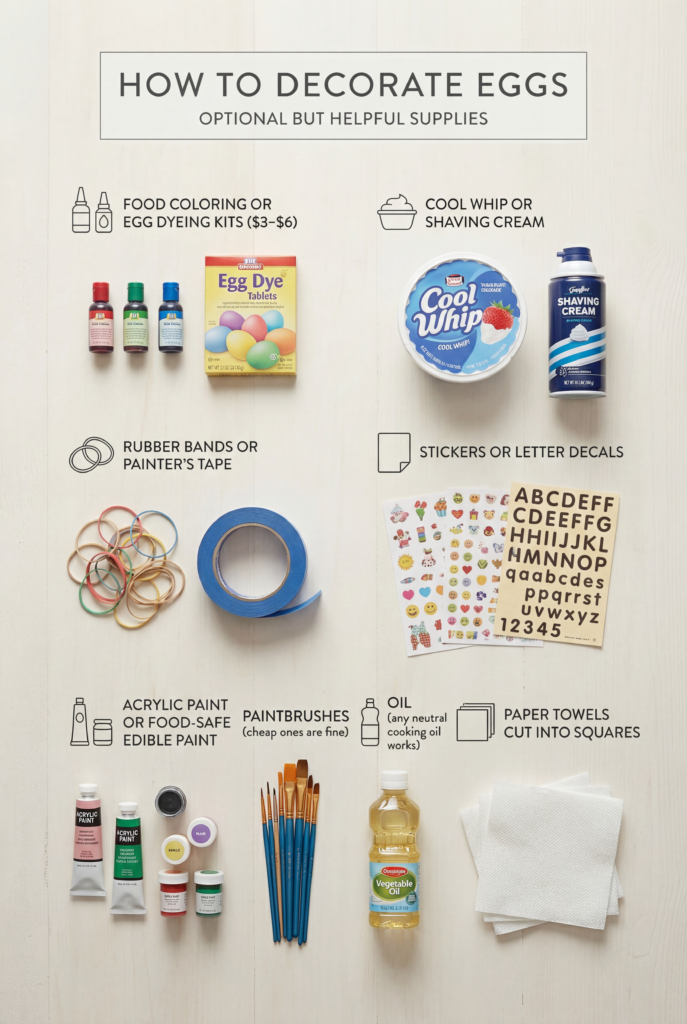
- Food coloring or egg dyeing kits
- Cool Whip or shaving cream
- Rubber bands or painter’s tape
- Stickers or letter decals
- Acrylic paint or food-safe edible paint
- Paintbrushes (cheap ones are fine)
- Oil (any neutral cooking oil works)
- Paper towels cut into squares
Most of this you already have. Grocery store, dollar store, or craft store will cover the rest. You do not need specialty Easter egg decorating supplies unless you want them.
Related: I Tested Do It Yourself Easter Decorations and Found the Only Ones Worth the Mess
Quick Safety Note (the boring but important part)
If you plan to eat the eggs: use edible-only materials, keep dyed eggs refrigerated, and if they’ve been sitting out longer than 2 hours, don’t eat them. (I know. I hate rules too. But this one matters.)
How to Prep Eggs for Decorating (This Matters More Than You Think)
Let’s start with the unglamorous part. Egg prep.
Do You Hard Boil Eggs to Decorate?
Yes. Unless you are using hollow eggs or faux eggs for display only.
How Long Do You Boil Eggs for Easter Decorating?
Here is the simplest method that works consistently.
- Place eggs in a saucepan in a single layer.
- Cover with cold water by about an inch.
- Bring to a rolling boil.
- Once boiling, turn off heat, cover, and let sit for 10–12 minutes.
- Transfer immediately to an ice bath.
This gives you fully set whites and yolks without the green ring.
Cold Water or Boiling Water First?
Always start in cold water. It reduces cracking and cooks more evenly.
The 5-5-5 Rule Explained
Some people swear by it. Five minutes boil, five minutes covered, five minutes ice bath. It works, but I find it slightly undercooks larger eggs. It is fine if you prefer softer yolks, but for decorating, I go longer.
The 3-3-3 Method
This is similar but faster. Personally, I do not recommend it for decorating because shells are more fragile.
Warm Eggs or Cold Eggs for Dyeing?
Warm eggs absorb dye faster and more evenly. Cold eggs give you lighter, softer tones. Neither is wrong. Decide based on the look you want.
White Eggs vs Brown Eggs
White eggs give you vibrant Easter eggs. Brown eggs give you muted, earthy colored Easter eggs. Both are beautiful. Just different vibes.
Natural and Food-Safe Dyes
This is where things get a little magical and a little unpredictable.
Natural egg dye is made from food. Which means results vary. Water content, egg color, soak time, and temperature all matter.
But when it works, it is gorgeous.
Display-only vs Eat: Eat-safe (as long as everything touching the eggs is food-safe)
How Natural Egg Dye Works
You simmer ingredients in water to extract pigment, add vinegar, then soak eggs.
Vinegar matters. It helps the color bond to the shell. Do you absolutely need it? Technically no. But yes. Use it.
Basic Natural Egg Dye Recipe
- 4 cups water
- 2 cups chopped ingredient
- Simmer 30–45 minutes
- Strain
- Add 1–2 tablespoons vinegar
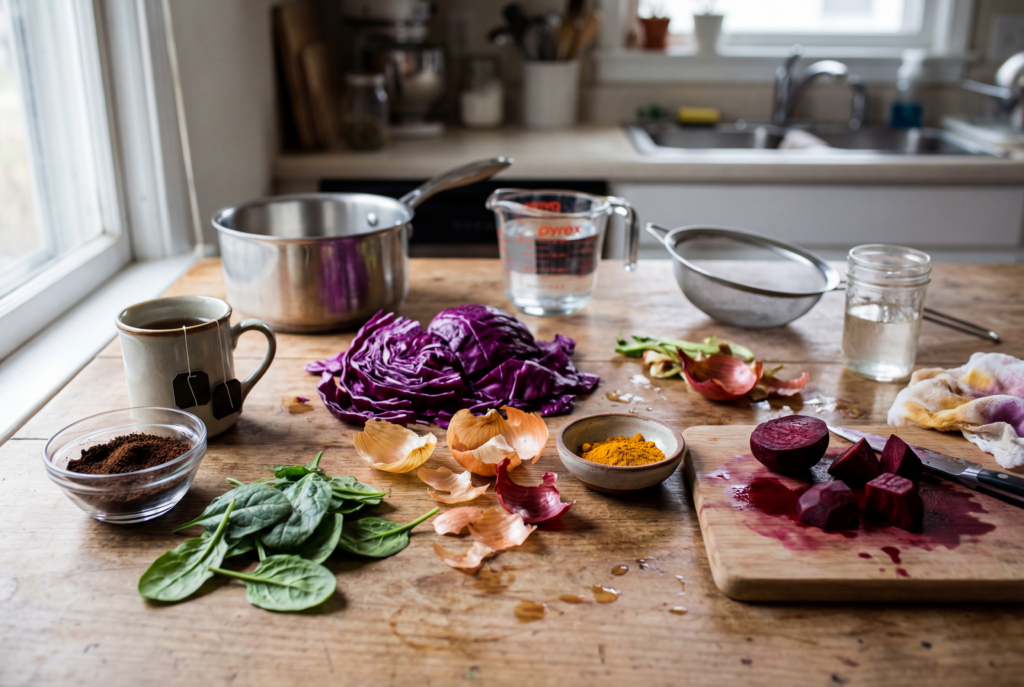
Common Natural Egg Dye Ingredients and Results
- Red cabbage: blue to teal
- Yellow onion skins: rich orange to rust
- Red onion skins: burgundy to plum
- Turmeric: bright yellow
- Beets: dusty pink (not red, manage expectations)
- Spinach: pale green
- Coffee or black tea: tan to brown
How Long to Soak Eggs
- 15–30 minutes for light color
- 1–2 hours for deeper tones
- Overnight in the fridge for maximum saturation
Check often. Natural dyes can surprise you.
Modern Patterns and Artistic Styles
This is where Easter egg decorating ideas really open up.
The Food Coloring Method (Classic for a Reason)
Display-only vs Eat: Eat-safe
Mix:
- 1/2 cup warm water
- 1 tablespoon vinegar
- 10–20 drops food coloring
Dip. Rotate. Lift. Dry. It is simple and reliable.
Tip: Fewer drops, softer pastel Easter eggs. More drops, vibrant egg colors.
Cool Whip Method (Marbled Without Stress)
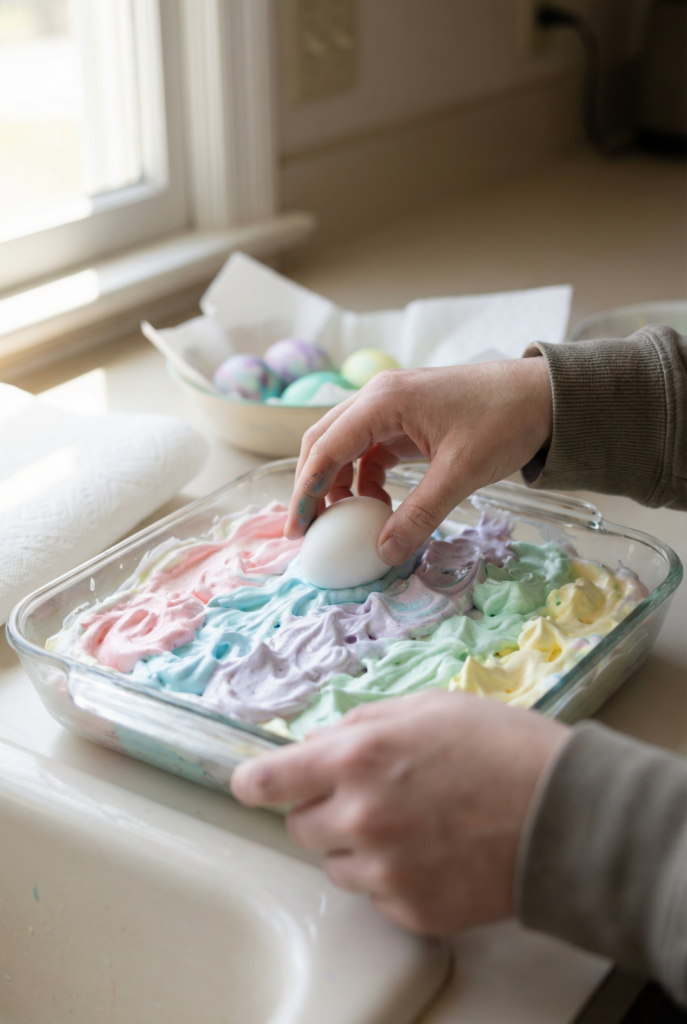
This is a favorite.
Display-only vs Eat: Eat-safe
- Spread Cool Whip in a shallow pan.
- Dot with food coloring.
- Swirl lightly.
- Roll egg gently.
- Let sit 10–15 minutes.
- Rinse.
This gives dreamy marbled Easter eggs every time.
Paper Towel Dyeing
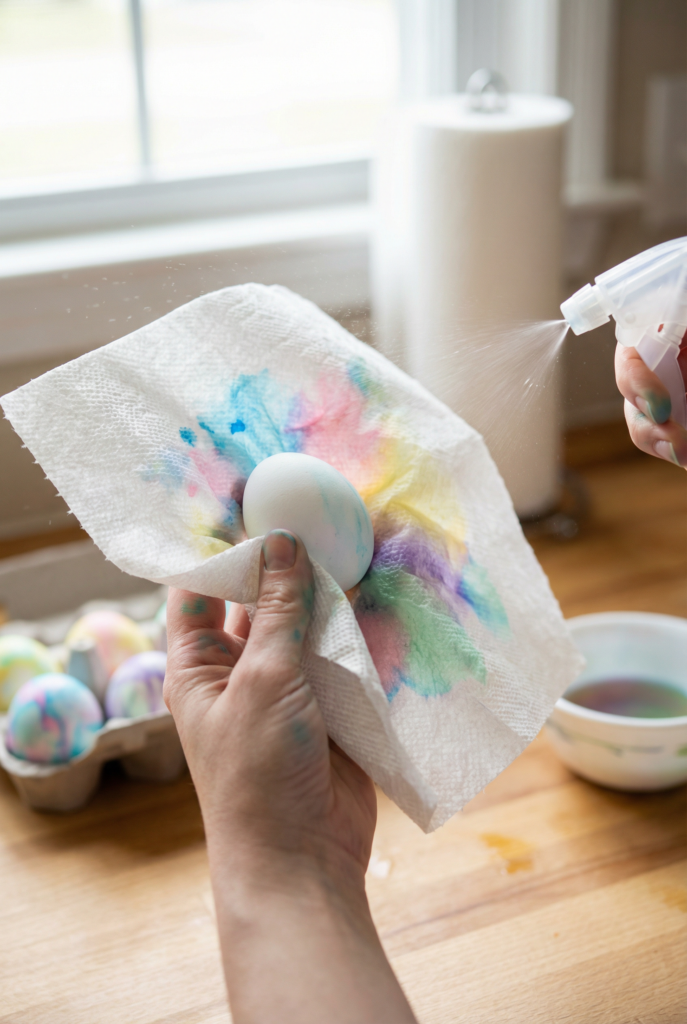
Display-only vs Eat: Eat-safe
- Wrap egg in paper towel.
- Drip multiple colors.
- Mist lightly with water.
- Let sit.
- Unwrap slowly.
Great for kids. Always looks intentional.
Sticker and Tape Resist Designs
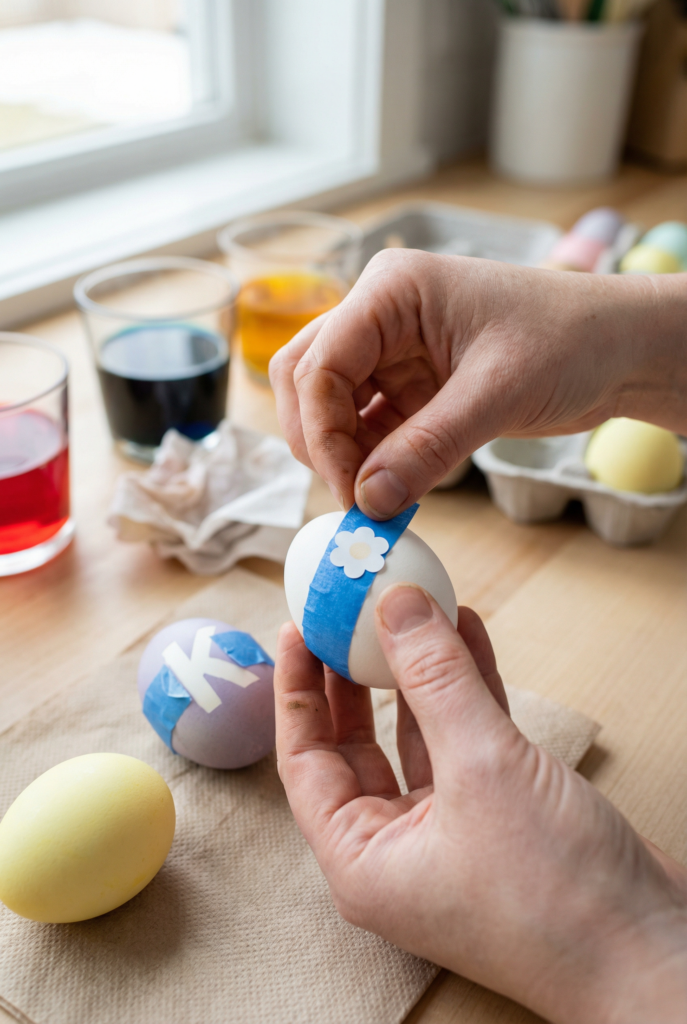
Display-only vs Eat: Eat-safe (use clean, food-contact-safe stickers if you’re planning to eat)
Apply stickers or tape first. Dye egg. Remove after drying.
Works beautifully for minimalist line art or names.
Marker and Doodle Designs
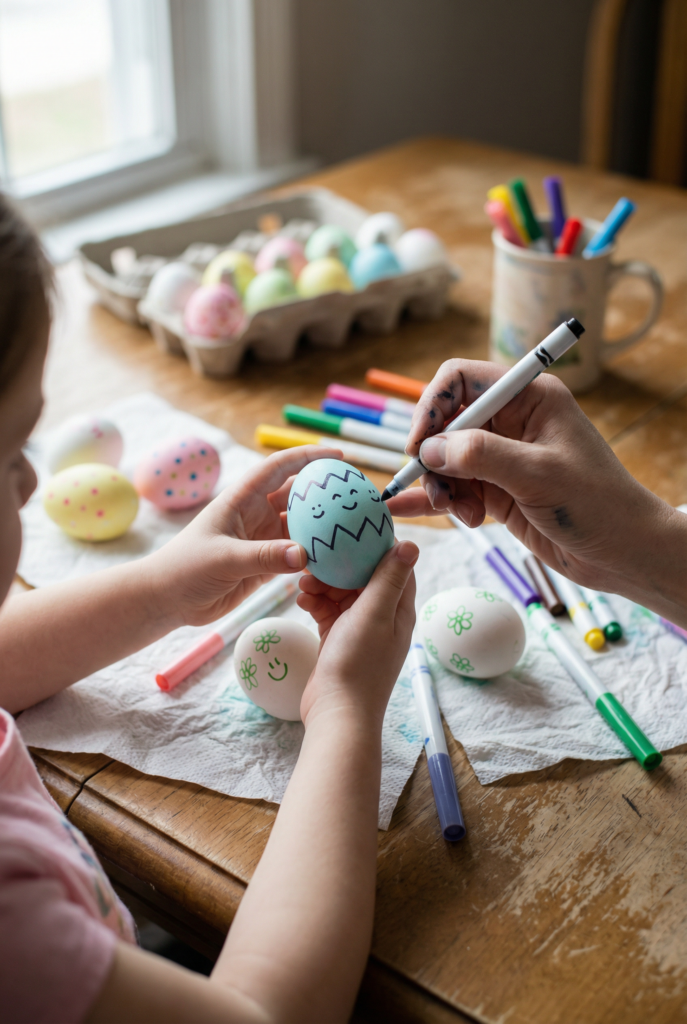
Display-only vs Eat: Eat-safe if using food-safe markers
Use food-safe markers on dyed eggs or plain eggs. Let kids go wild. Add details later if needed.
Related: 29 Egg-cellent Easter Decor Ideas to Brighten Your Space!
Painting Easter Eggs
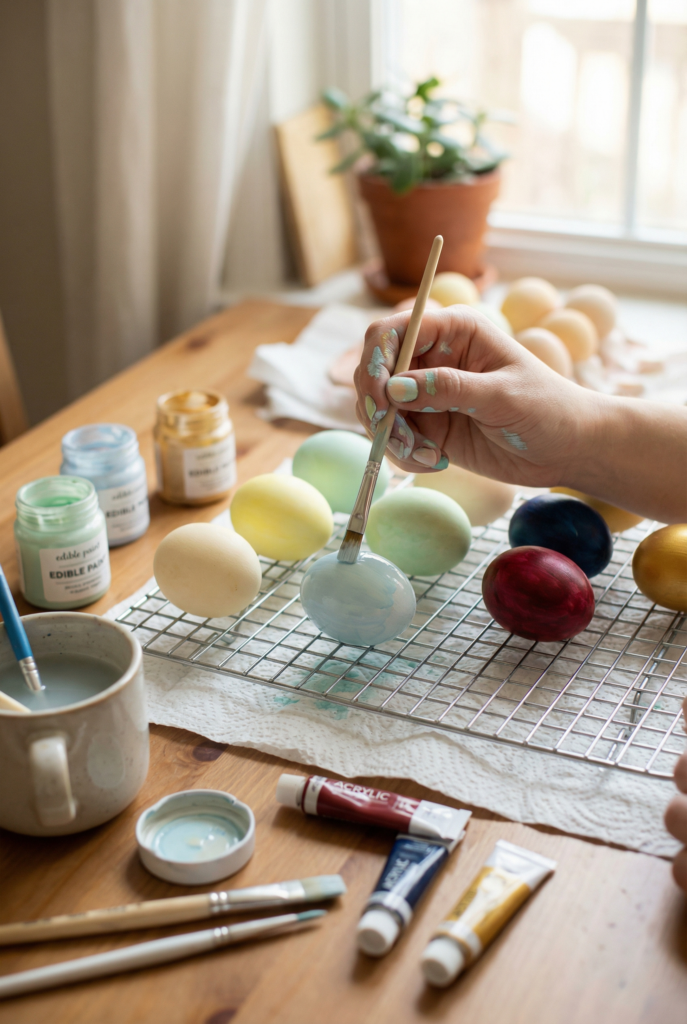
Display-only vs Eat: Depends
Use:
- Edible paint for eggs you’ll eat.
- Acrylic paint for display eggs only.
Thin layers. Let dry fully. Rushing causes streaks.
Creative Finishes Like Speckle, Marbling, or Metallics
This is where eggs go from cute to wow.
Speckled Eggs
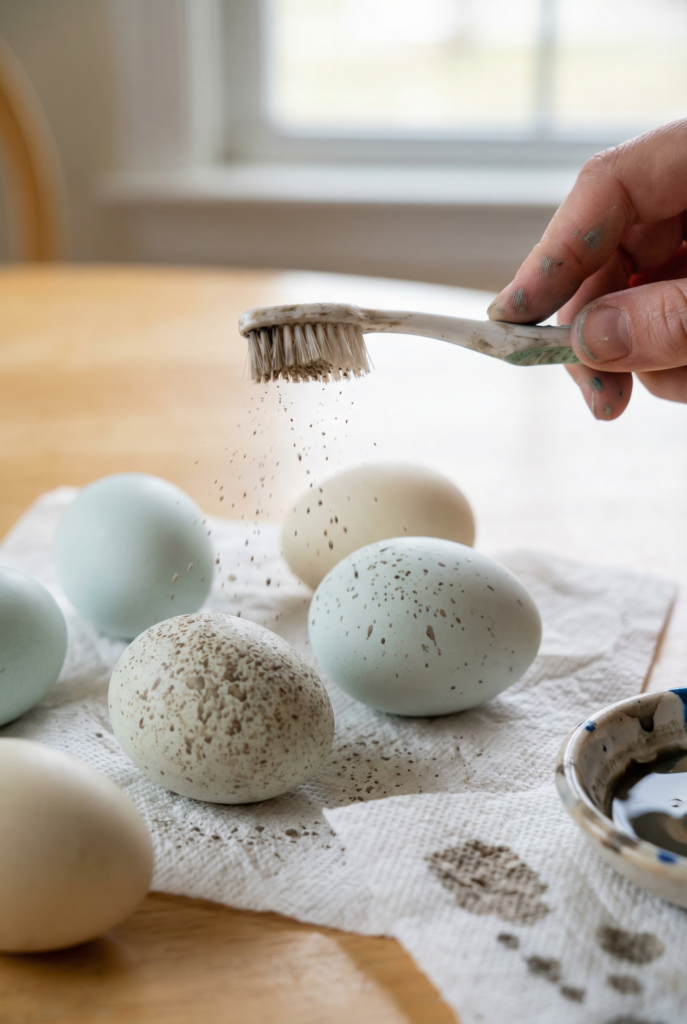
Display-only vs Eat: Display-only if using craft paint (eat-safe only if using edible coloring)
Dip an old toothbrush or stiff brush into diluted paint. Flick gently.
Less paint is more. Practice first.
Marbling with Oil
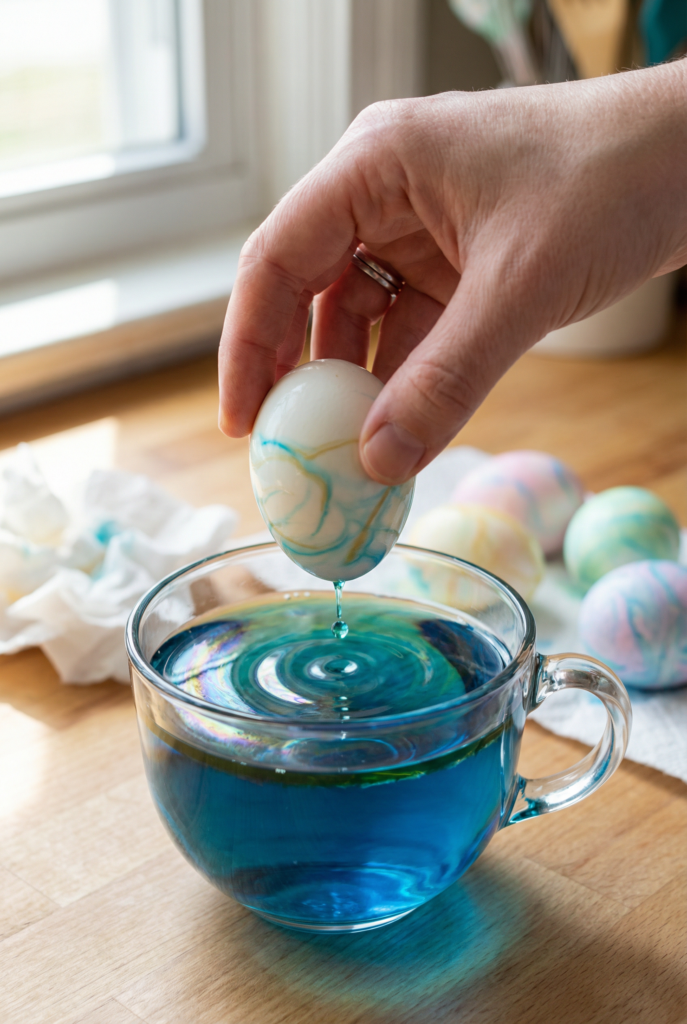
Display-only vs Eat: Eat-safe
Add a teaspoon of oil to dye. Swirl egg briefly. Remove immediately.
Too long and it gets muddy.
Metallic Accents
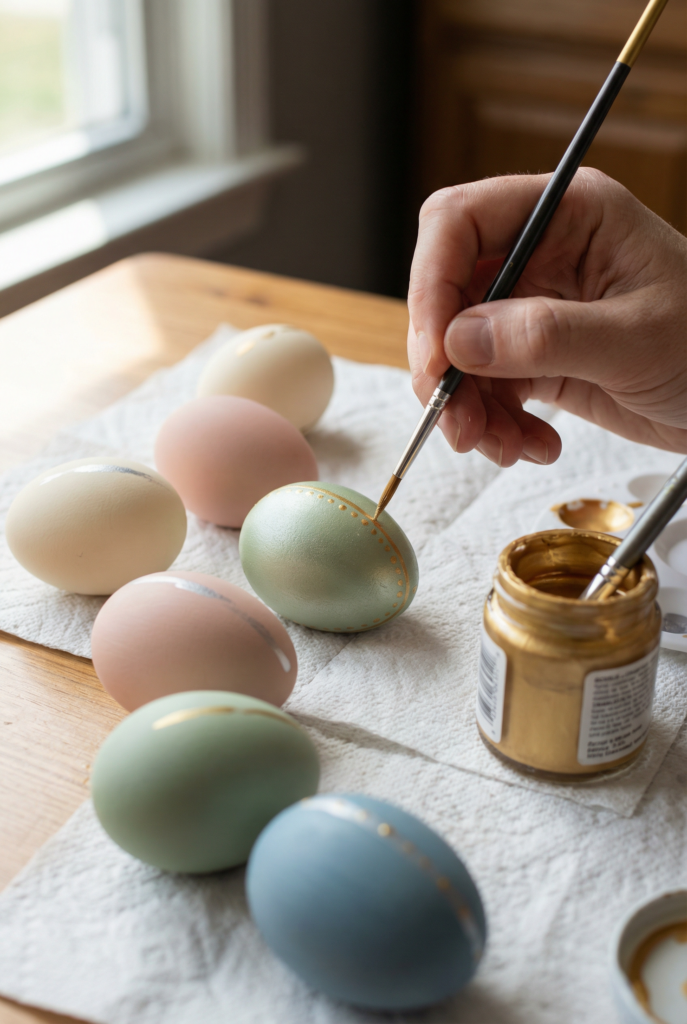
Display-only vs Eat: Display-only
Use a small brush and metallic paint. Focus on edges or dots. Do not cover everything.
Gold or Silver Foil Look
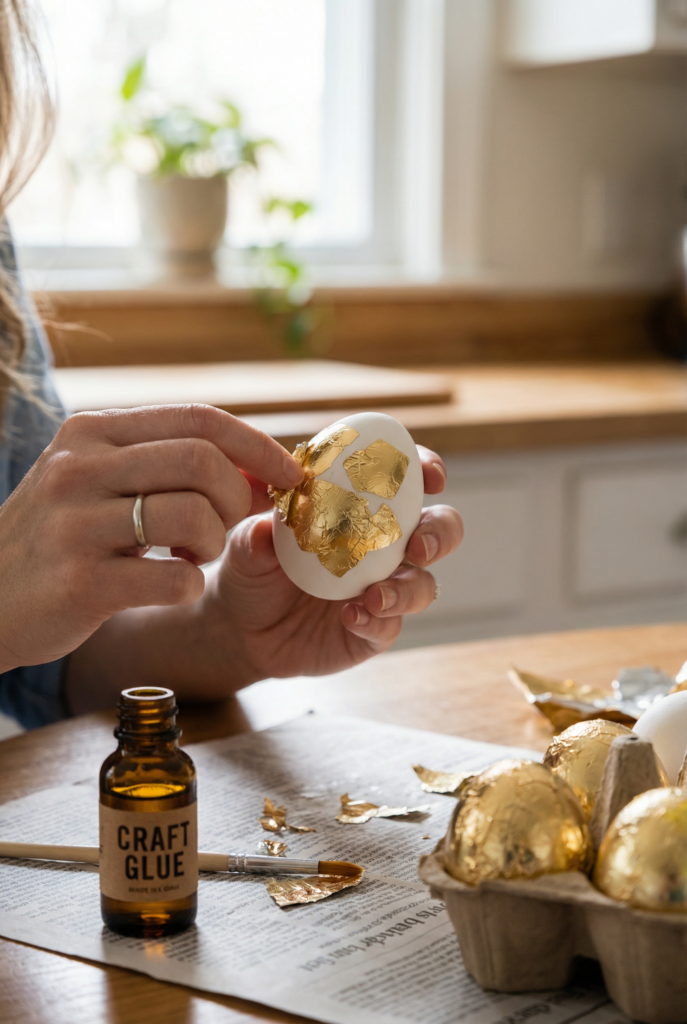
Display-only vs Eat: Display-only
Use craft foil and adhesive. Press lightly. Seal if display-only.
Glitter Finishes
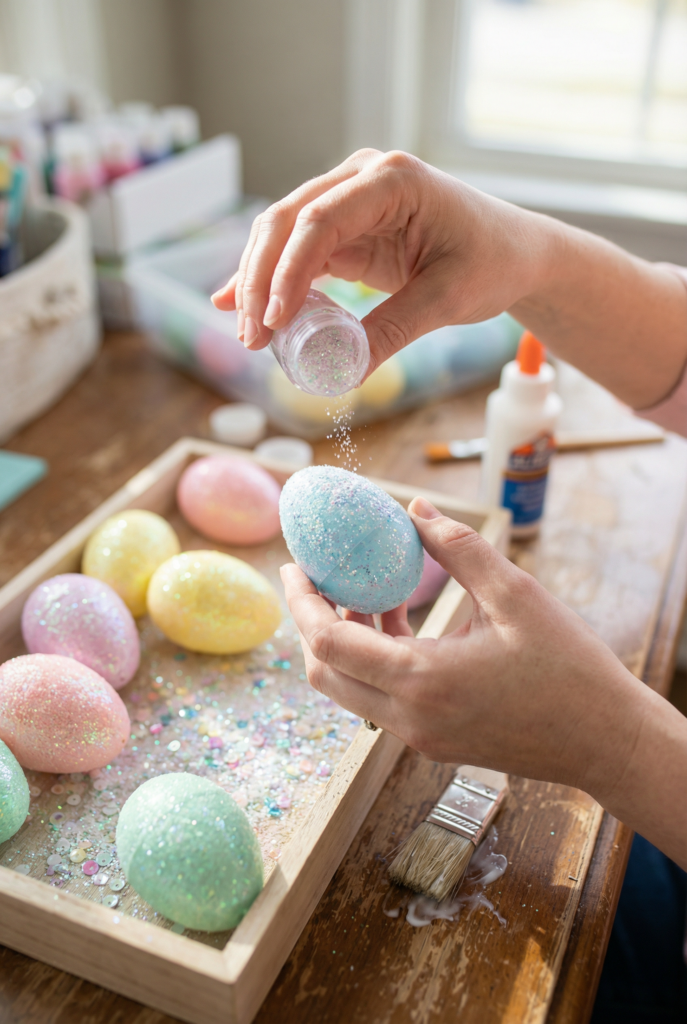
Display-only vs Eat: Display-only
Only for faux or hollow eggs. Real eggs and glitter do not mix well. Ask me how I know.
Sealing Eggs
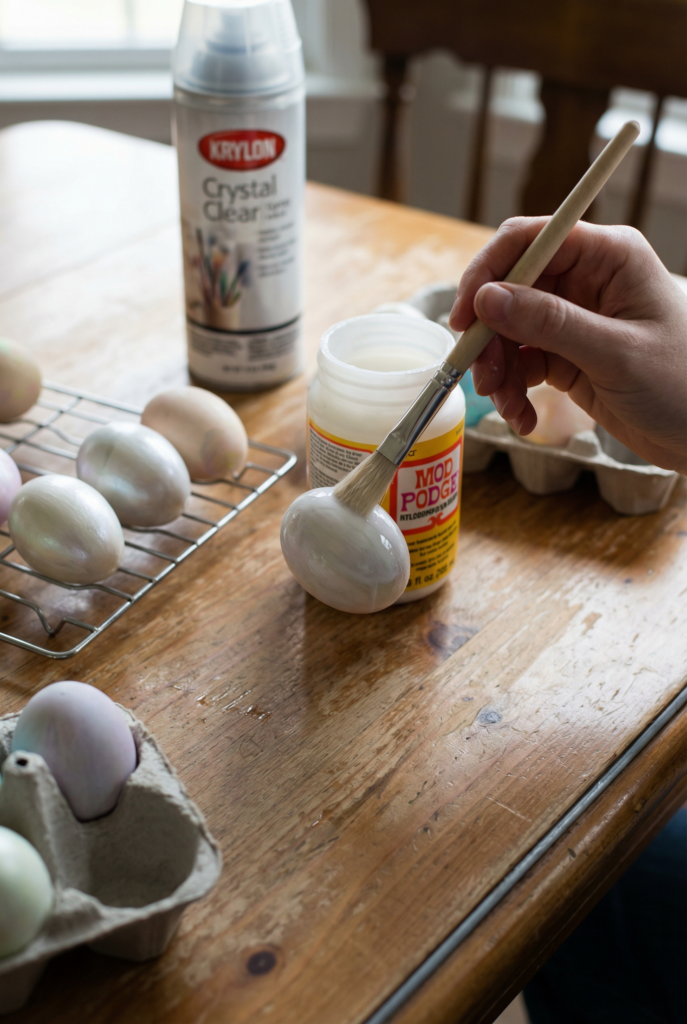
Display-only vs Eat: Display-only
If not eating:
- Use Mod Podge or clear spray sealant.
- Light coats.
- Dry fully between layers.
Troubleshooting (Because Something Always Happens)
- Color looks blotchy → shells still oily; wipe with vinegar first
- Color won’t stick → dye too weak, no vinegar, or eggs too cold
- Cracking → start in cold water, don’t boil aggressively
- Muddy eggs → too many colors plus too much rubbing
- Sticker bleed → let dye dry fully before removing
Hollow Eggs, Faux Eggs, and When to Use Them
Hollow eggs are real shells with the inside blown out. They are fragile but perfect for keepsakes.
Faux eggs are plastic or wood. Ideal for paint, glitter, and long-term display.
Use real eggs for:
- Eating
- Short-term displays
Use hollow or faux eggs for:
- Mantels
- Centerpieces
- Hanging eggs
Display Ideas for Finished Eggs
Decorated eggs deserve better than a random bowl.
Easy Display Ideas

- Egg cartons painted white or pastel
- Simple ceramic bowls
- Baskets with shredded paper
- Cake stands
- Glass cloches
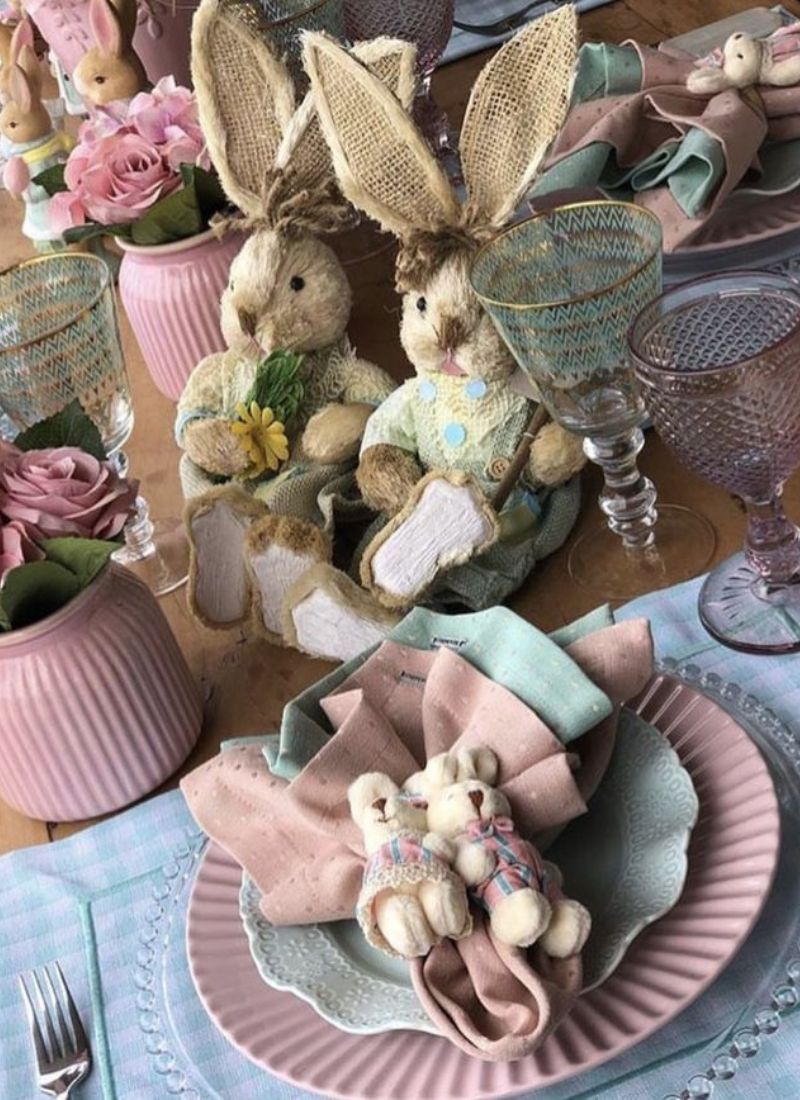
Table Settings
One egg per plate with a name sticker. So easy. Always looks thoughtful. Check this article How to Decorate an Easter Table: Step-by-Step Guide That Feels Expensive on a Budget
Hanging Eggs
Only hollow or faux eggs. Thread ribbon through holes. Hang on branches.
Mantel Displays
Group eggs by color. Odd numbers look best.
How Long Decorated Eggs Last
- Refrigerated real eggs: up to 7 days (refrigerate within 2 hours)
- Room temp real eggs: same day only
- Hollow or faux eggs: forever
Common Easter Egg Decorating Mistakes (I’ve Made All of These)
- Too many colors at once. Mud happens.
- Skipping vinegar. Color won’t stick.
- Rushing drying time.
- Touching eggs too soon.
- Expecting natural dyes to look neon.
Decorating Easter eggs is forgiving. Most “mistakes” still look charming.
FAQs
What Is the Best Way to Decorate Easter Eggs?
The best way is the one that fits your goals. Eating later? Use food coloring or natural egg dye. Display only? Paint and seal.
How Do You Prep Eggs for Decorating?
Hard boil, cool fully, dry shells, and decide warm or cold based on color depth.
Do You Hard Boil Eggs to Decorate?
Yes. If you’re decorating real eggs you plan to eat, hard boil them first. If you want long-lasting decor, use hollow eggs or faux eggs.
How Do You Get Color to Stick to Eggs?
Use vinegar. Always.
How Do You Decorate an Egg Step by Step?
Prep eggs, choose dye method, dye or decorate, dry completely, then display or refrigerate.
What Kind of Paint to Use on Easter Eggs?
If you plan to eat them, use edible paint or food-safe coloring pens. If they’re display-only, acrylic paint is the easiest and gives the best coverage.
Can You Use Mod Podge on Fake Eggs?
Yes. Mod Podge is great on faux eggs for sealing paint, adding tissue-paper patterns, or giving a soft sheen. Just keep it firmly in the display-only category.
Is It Better to Color Eggs Cold or Warm?
Warm eggs absorb more color. Cold eggs give softer tones.
How Long Will Eggs Last With the Bloom On Them?
If unwashed and refrigerated, up to two weeks. Once washed, about one week.
Are Natural Dyes Food Safe?
Yes. These are the best option if you plan to eat the eggs later. Just keep them refrigerated.
Final Thoughts
If you take one thing from this guide, let it be this.
Decorating Easter eggs is not about perfection. It is about showing up, getting dye on your hands, and making something temporary and joyful.
Some eggs will be beautiful. Some will be weird. One might crack. One might be your favorite for no logical reason.
That is the whole point.
If you want vibrant Easter eggs, go bold. If you want pastel Easter eggs, slow down. If you want unique Easter eggs, try one new method and stop before you overthink it.
You already know how to decorate Easter eggs now. The rest is just color, time, and a little bit of mess.
And honestly, that is my favorite part.