Hey all! My name is Julia, former college student and a home decor enthusiast who loves DIY home improvement projects and finding creative ways to decorate any living spaces on a budget. Recently moved from my dorm to my new apartment which I renovated from scratch and I am here to help you with tips & tricks about home decor/college and more 🙂
If you’re on the hunt for the best brownie recipe, you’re in for a treat. I’ll share my go-to recipe that guarantees rich, fudgy brownies with a perfect crackly top. Whether you’re a chocolate lover or just in need of a sweet fix, these brownies are sure to hit the spot.
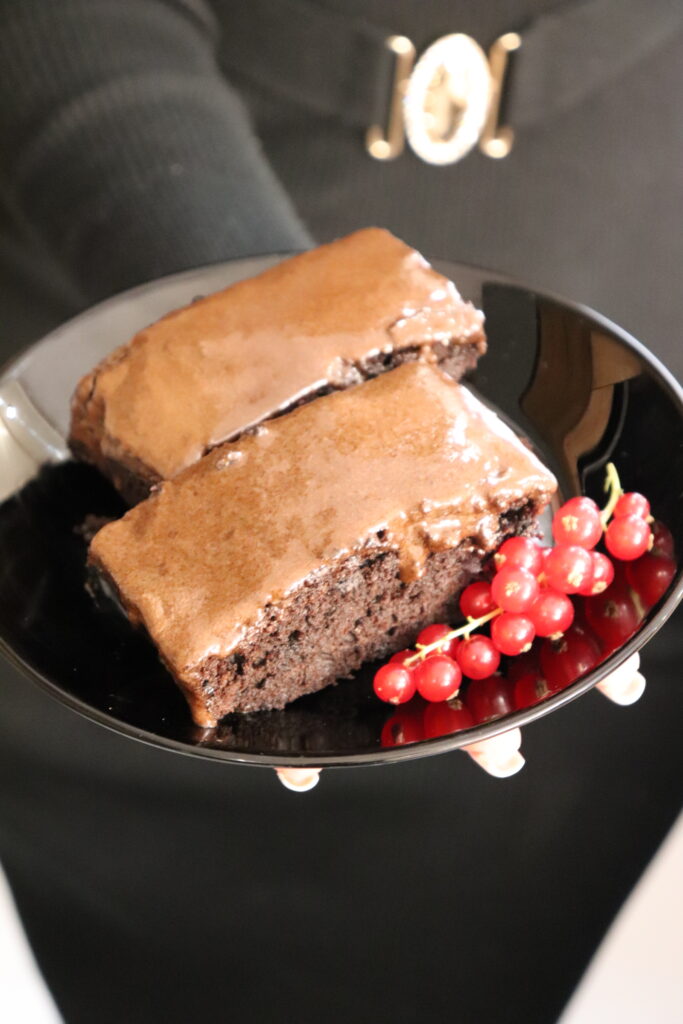
There’s nothing quite like biting into a rich, fudgy brownie.
Whether you’re a fan of the chewy edges or the gooey center, this brownie recipe is sure to satisfy your chocolate cravings.
After testing numerous recipes, I’ve perfected my go-to brownie that’s easy to make and absolutely irresistible. Let’s get started!
Ingredients
For the Brownies:
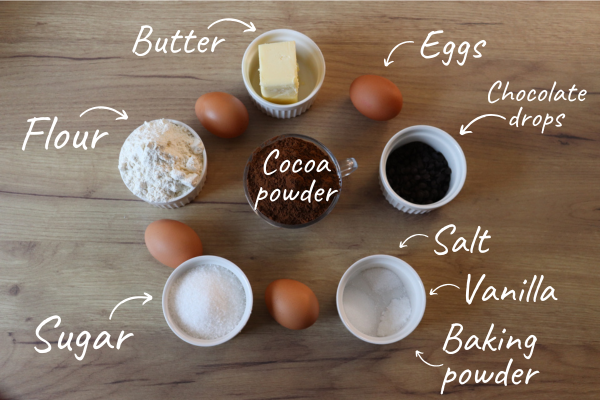
- 1 cup (2 sticks or 220 grams) unsalted butter: The base of our brownies, providing richness and moisture.
- 2 1/4 cups (450 grams) granulated sugar: Sweetens the brownies and helps create that beautiful, shiny crust on top.
- 4 large eggs: Adds structure and helps bind the ingredients together.
- 1 teaspoon (5 ml) vanilla extract: Enhances the chocolate flavor.
- 1 cup (125 grams) all-purpose flour: Provides the necessary structure for the brownies.
- 1 cup (100 grams) unsweetened cocoa powder: The star ingredient for that deep chocolate flavor.
- 1/2 teaspoon (3 grams) salt: Balances the sweetness and enhances the overall flavor.
- 1 teaspoon baking powder: Adds a bit of lift to the brownies, making them slightly less dense.
- 1 cup (175 grams) semi-sweet chocolate chips (optional): For extra bursts of chocolate in every bite.
For the Optional Frosting:
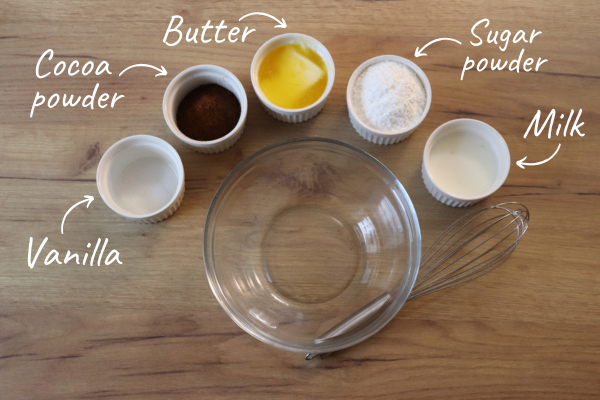
- 1/2 cup (1 stick or 110 grams) unsalted butter, softened: The base of our creamy frosting.
- 1/4 cup (25 grams) unsweetened cocoa powder: Adds a rich chocolate flavor.
- 1/4 cup (60 ml) milk: Thins out the frosting to the perfect spreading consistency.
- 2 cups (240 grams) powdered sugar: Sweetens and thickens the frosting.
- 1 teaspoon (5 ml) vanilla extract: Adds a hint of vanilla to complement the chocolate.
Related posts: Banana Bread Recipe Easy, Delicious, and Perfect Every Time
Preheat and Prep
First things first, preheat your oven to 350°F (175°C). This is crucial to ensure your brownies bake evenly.
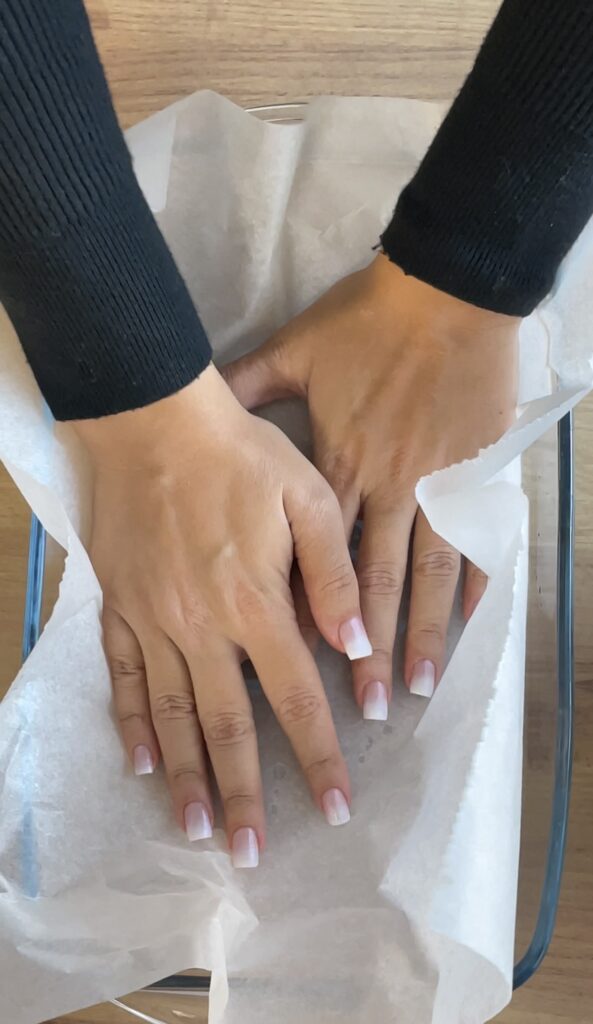
While the oven is heating up, take a moment to prepare your baking pan.
Grease a 9×13 inch baking pan generously with butter or non-stick spray, making sure to cover all the corners and sides.
Alternatively, you can line the pan with parchment paper, allowing some overhang on the sides for easy removal. This step ensures your brownies won’t stick to the pan and makes cleanup a breeze.
Proper preparation of the pan can also help achieve those clean, sharp edges when you cut the brownies.
Melt the Butter and Mix with Sugar
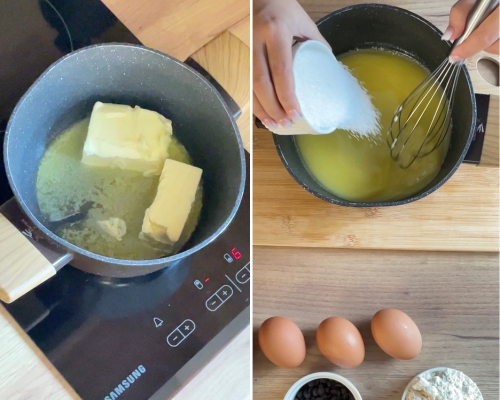
In a medium saucepan, melt the butter over medium heat.
Stir occasionally to ensure it melts evenly and doesn’t burn. Once the butter is fully melted, remove the saucepan from the heat.
Immediately add the granulated sugar to the melted butter, stirring until well combined.
The heat from the butter will help dissolve the sugar, which is key to forming that coveted shiny, crackly top on your brownies. Let this mixture cool slightly for a few minutes.
You don’t want it too hot when you add the eggs, or you’ll end up with scrambled eggs in your batter!
Add Eggs and Vanilla
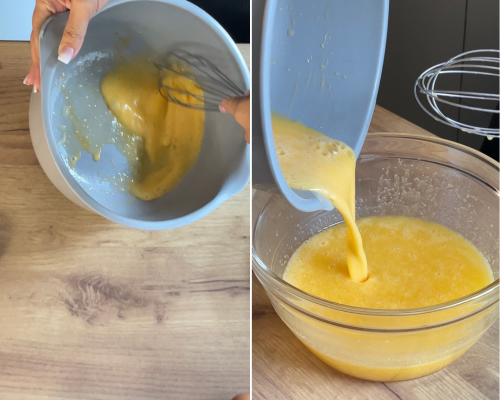
Transfer the slightly cooled butter and sugar mixture to a large mixing bowl.
Crack the eggs one at a time, adding them to the mixture and beating well after each addition.
This helps to incorporate air into the batter, giving the brownies a bit of lift.
Stir in the vanilla extract, which enhances the chocolate flavor and adds a wonderful aroma.
The batter should be smooth and glossy at this stage, indicating that the eggs are fully incorporated.
Combine Dry Ingredients
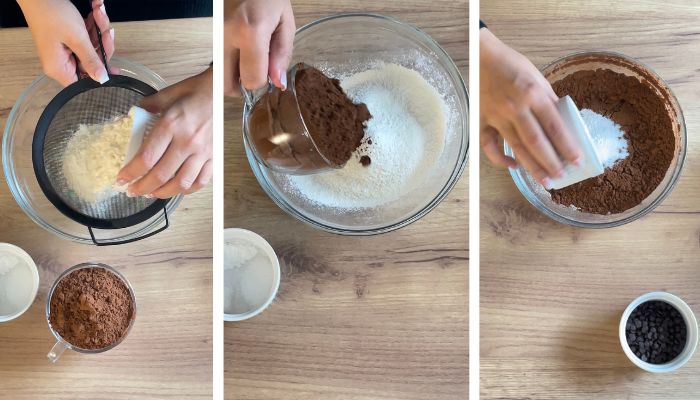
In a separate bowl, whisk together the flour, cocoa powder, salt, and baking powder.
Whisking not only combines the ingredients but also adds a bit of air, which helps prevent clumps.
Gradually add the dry ingredients to the wet mixture, stirring gently just until combined.
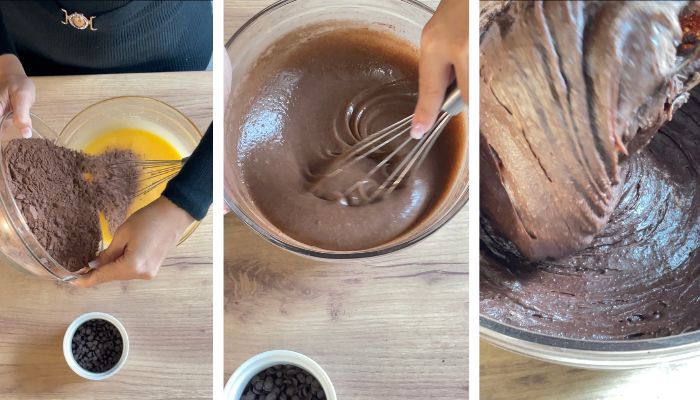
Be careful not to overmix. Overmixing can develop the gluten in the flour, leading to tough brownies.
We want them to be perfectly tender and fudgy, so mix just until you no longer see streaks of flour.
Related posts: Cinnamon Rolls Recipe for Cozy Mornings and Sweet Treats (With Video)
Add Chocolate Chips (Optional)
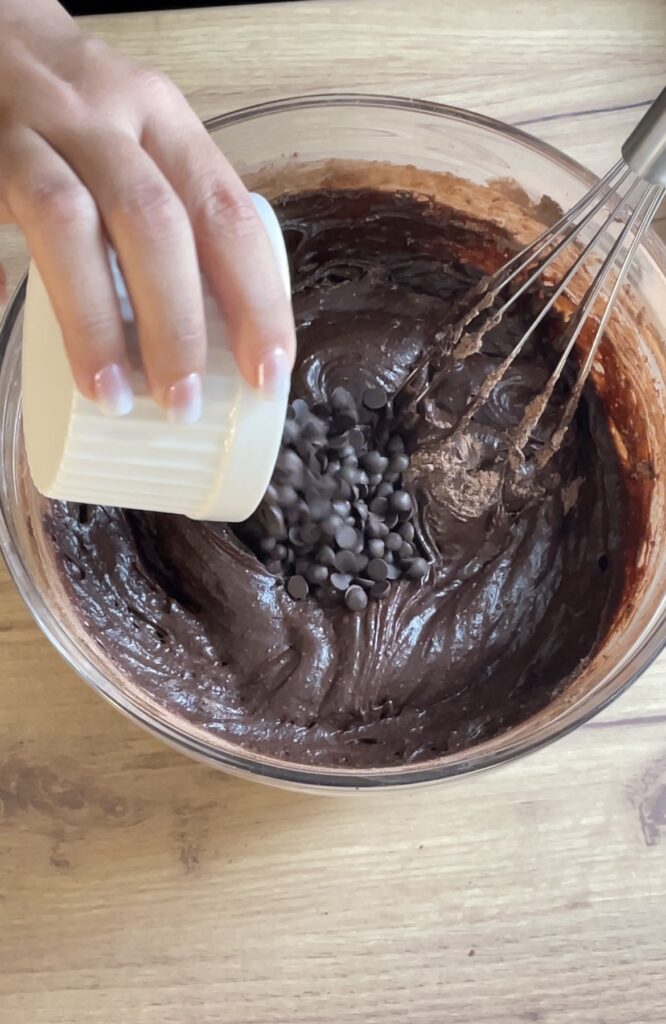
If you’re a fan of extra chocolatey brownies, now is the time to fold in the chocolate chips.
Gently stir them into the batter until they are evenly distributed.
The chocolate chips will melt slightly during baking, creating pockets of gooey chocolate throughout the brownies.
This step is optional, but highly recommended for an extra indulgent treat.
Bake
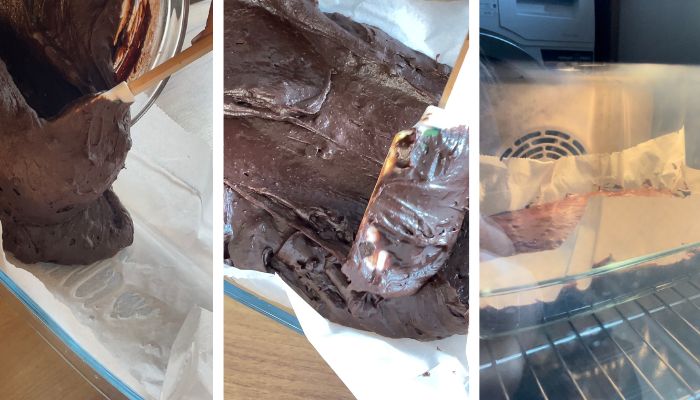
Pour the batter into the prepared baking pan, spreading it out evenly with a spatula.
Make sure to get the batter into the corners and smooth the top as much as possible.
Bake in the preheated oven for 25-30 minutes. Keep an eye on them as baking times can vary based on your oven.
To check for doneness, insert a toothpick into the center of the brownies. It should come out with a few moist crumbs but not wet batter.
Remember, you don’t want to overbake them! Overbaking can result in dry, cakey brownies instead of the fudgy texture we’re aiming for.
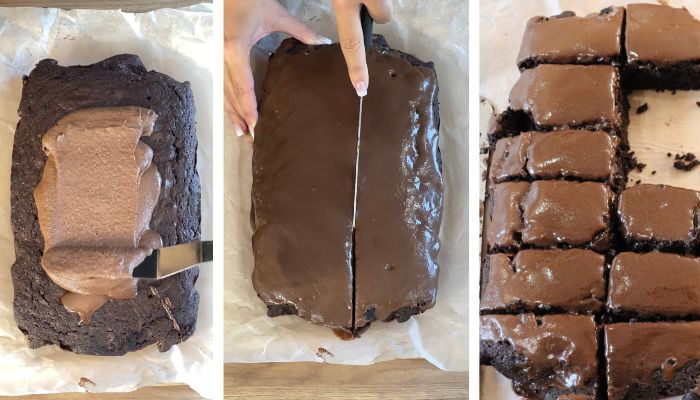
Cool and Frost (Optional)

Allow the brownies to cool completely in the pan on a wire rack.
This can take about an hour, but it’s worth the wait.
Cooling the brownies ensures they set properly and makes them easier to cut.
If you’re planning to add frosting, prepare it while the brownies cool.
The frosting should be spreadable but not runny, and it’s important to wait until the brownies are cool so the frosting doesn’t melt and slide off.
Once cool, spread the frosting evenly over the top with a spatula. Cut into squares and enjoy your masterpiece!
Tips for Perfect Brownies
- Room Temperature Ingredients: Make sure your eggs are at room temperature to ensure they mix well with the batter. Cold eggs can cause the batter to seize up.
- Don’t Overbake: The secret to fudgy brownies is to bake them just until a toothpick comes out with a few moist crumbs. Overbaking will result in cakey brownies.
- Let Them Cool: It’s tempting to dig in right away, but letting the brownies cool completely will make them easier to cut and enhance their flavor. Plus, it helps the texture set properly.
Variations
- Nutty Brownies: Add 1 cup (125 grams) of chopped walnuts or pecans to the batter for a crunchy twist. The nuts add a delightful texture contrast to the fudgy brownies.
- Mint Chocolate Brownies: Add 1 teaspoon (5 ml) of peppermint extract to the batter and top with crushed candy canes for a festive touch. Perfect for the holidays!
- Caramel Swirl Brownies: Drizzle caramel sauce over the batter before baking and swirl it in with a knife for a decadent treat. The caramel adds a gooey, sweet layer that’s hard to resist.
Final Thoughts
These brownies are perfect for any occasion, whether you’re making them for a party, a bake sale, or just because you’re in the mood for something sweet.
They’re rich, fudgy, and sure to be a hit with anyone who tries them. Plus, they’re incredibly versatile, so you can easily customize them to suit your tastes. Happy baking!
Print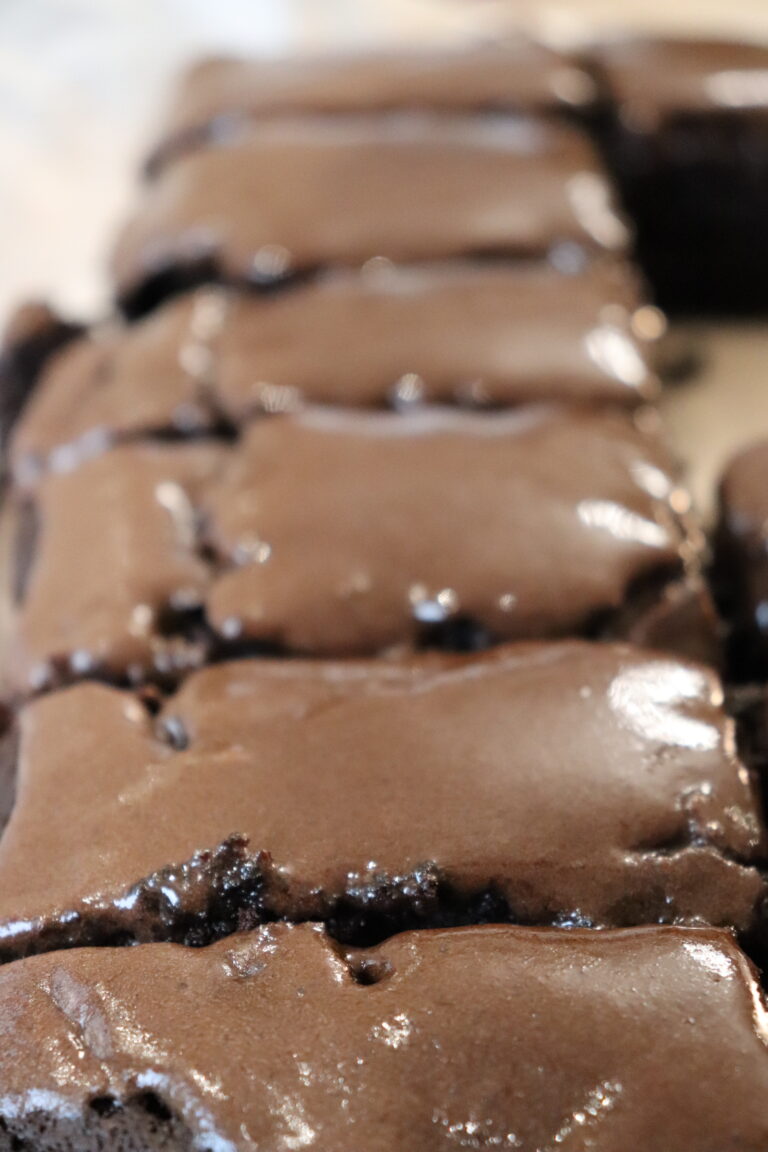
Best Ever Brownie Recipe
These brownies are rich, fudgy, and absolutely irresistible. Perfect for any chocolate lover, they feature a shiny, crackly top with a gooey, chocolatey center. Whether you’re making them for a party, a bake sale, or just because, these brownies are sure to be a hit!
- Total Time: 0 hours
- Yield: 20–24 1x
Ingredients
For the Brownies:
- 1 cup (2 sticks or 220 grams) unsalted butter
- 2 1/4 cups (450 grams) granulated sugar
- 4 large eggs (about 200 grams)
- 1 teaspoon (5 ml) vanilla extract
- 1 cup (125 grams) all-purpose flour
- 1 cup (100 grams) unsweetened cocoa powder
- 1/2 teaspoon (3 grams) salt
- 1 teaspoon (4 grams) baking powder
- 1 cup (175 grams) semi-sweet chocolate chips (optional)
For the Optional Frosting:
- 1/2 cup (1 stick or 110 grams) unsalted butter, softened
- 1/4 cup (25 grams) unsweetened cocoa powder
- 1/4 cup (60 ml) milk
- 2 cups (240 grams) powdered sugar
- 1 teaspoon (5 ml) vanilla extract
Instructions
- Preheat your oven to 350°F (175°C).
- Grease a 9×13 inch (23×33 cm) baking pan with butter or non-stick spray, or line with parchment paper.
- Melt the Butter and Mix with Sugar: In a medium saucepan, melt the butter over medium heat. Remove from heat and stir in the granulated sugar until well combined. Let cool slightly.
- Add Eggs and Vanilla: Transfer the butter and sugar mixture to a large mixing bowl. Beat in the eggs one at a time, mixing well after each addition. Stir in the vanilla extract.
- Combine Dry Ingredients: In a separate bowl, whisk together the flour, cocoa powder, salt, and baking powder. Gradually add the dry ingredients to the wet mixture, stirring gently just until combined.
- Add Chocolate Chips (Optional): Fold in the chocolate chips, if using.
- Bake: Pour the batter into the prepared baking pan, spreading it out evenly. Bake in the preheated oven for 25-35 minutes, or until a toothpick inserted into the center comes out with a few moist crumbs.
- Cool and Frost (Optional): Allow the brownies to cool completely in the pan on a wire rack. If adding frosting, prepare it while the brownies cool.
- Prepare the Frosting (Optional): In a medium bowl, beat together the softened butter, cocoa powder, milk, powdered sugar, and vanilla extract until smooth and creamy. Spread the frosting over the cooled brownies.
- Serve: Cut into squares and serve.
Notes
- Room Temperature Ingredients: Ensure your eggs are at room temperature to mix well with the batter.
- Don’t Overbake: Bake just until a toothpick comes out with a few moist crumbs to keep the brownies fudgy.
- Let Them Cool: Allowing the brownies to cool completely makes them easier to cut and enhances their flavor.
- Prep Time: 15 min
- Cook Time: 25-35 min
- Category: Dessert
- Method: Baking
FAQ:
How do I make brownies more fudgy instead of cakey?
Try using more butter and less flour to keep them fudgy. Also, avoid overbaking them; it makes a big difference.
What is the secret to getting a shiny, crackly top on brownies?
Melt the sugar into the butter fully before adding the eggs. This really helps achieve that shiny, crackly top.
Can I substitute butter with oil in a brownie recipe?
Yes, you can! Use the same amount of oil as butter, but keep in mind it might make the brownies a bit denser.
How do I know when my brownies are perfectly baked?
Stick a toothpick in the center. If it comes out with a few moist crumbs, they’re done. Avoid waiting until it’s completely clean.
What are some variations to add extra flavor to classic brownies?
Add chocolate chips, nuts, or even a swirl of caramel or peanut butter. Sometimes, a sprinkle of sea salt on top adds a nice twist.
Can you freeze brownies?
Absolutely! Wrap them tightly in plastic wrap and then place them in a freezer bag. They can last up to three months in the freezer. Just let them come to room temperature before enjoying.