Hey all! My name is Julia, former college student and a home decor enthusiast who loves DIY home improvement projects and finding creative ways to decorate any living spaces on a budget. Recently moved from my dorm to my new apartment which I renovated from scratch and I am here to help you with tips & tricks about home decor/college and more 🙂
What We’ve Done, What We’ve Changed, and What’s Next
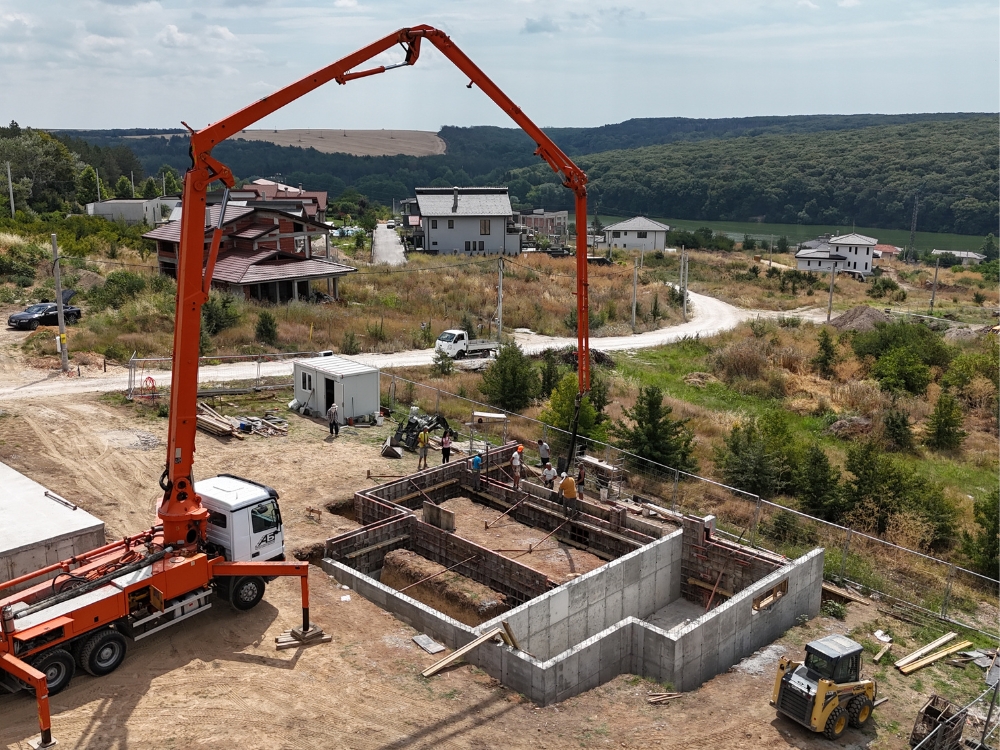
Here we are again. Step one of building our dream house—the foundation—is almost done.
Technically, we haven’t finished yet. But wow… this has been the most exciting part of the entire process so far. So many changes, so many “oh, that’s new!” moments, and so many lessons along the way.
Our first team of builders is almost finished — which means we’re this close to saying goodbye (with lots of gratitude!) and already counting the days until the next crew arrives.
But first, let me take you back and show you what happened in this very first phase of construction.
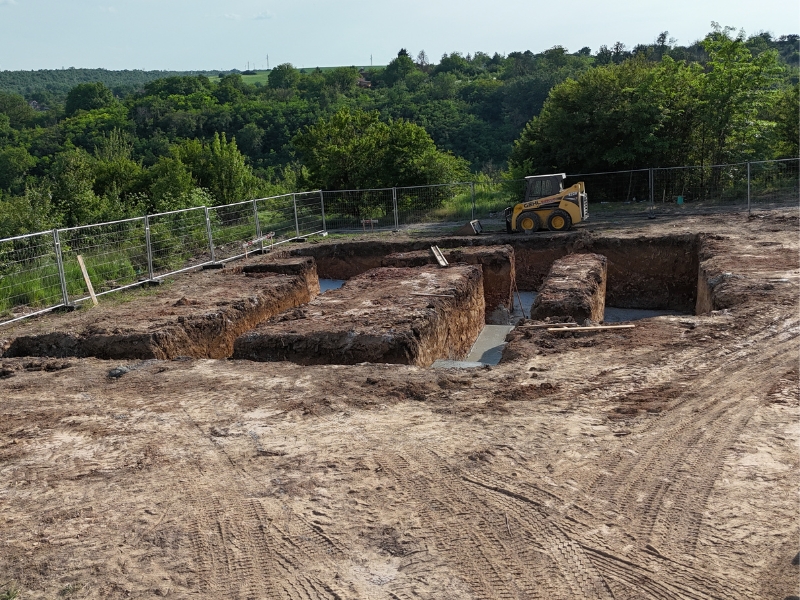
Field Preparation
It all started with the land.
Step one: clear it. Grass? Gone. Shrubs? Out. Random rubbish? Bye.
Step two: put up a fence.
Step three: welcome the surveyor.
He came, he measured, he conquered. Wooden stakes in the ground, perfectly marking where our foundation would go. (well not so perfectly, but that’s whole other story)
Oh, and bonus good news? Electricity and water are now connected!
That means no surprises on the “technical” side and fewer delays for the next stages.
This was also the first time the project felt real. Seeing the footprint of the house on the actual plot? Excitement level: officially through the roof.
Elevation and a Panoramic View
“Surprise number one”: our plot isn’t flat.
The front sits about two metres higher than the back.
Translation? The veranda, the living room, the bedrooms—all those key spaces—are perched up high.
And that means an even better view of the forest and the lake in front of us.
What first looked like a “hmm, that’s tricky” moment actually turned into a gift. Nature plus home, perfectly aligned.
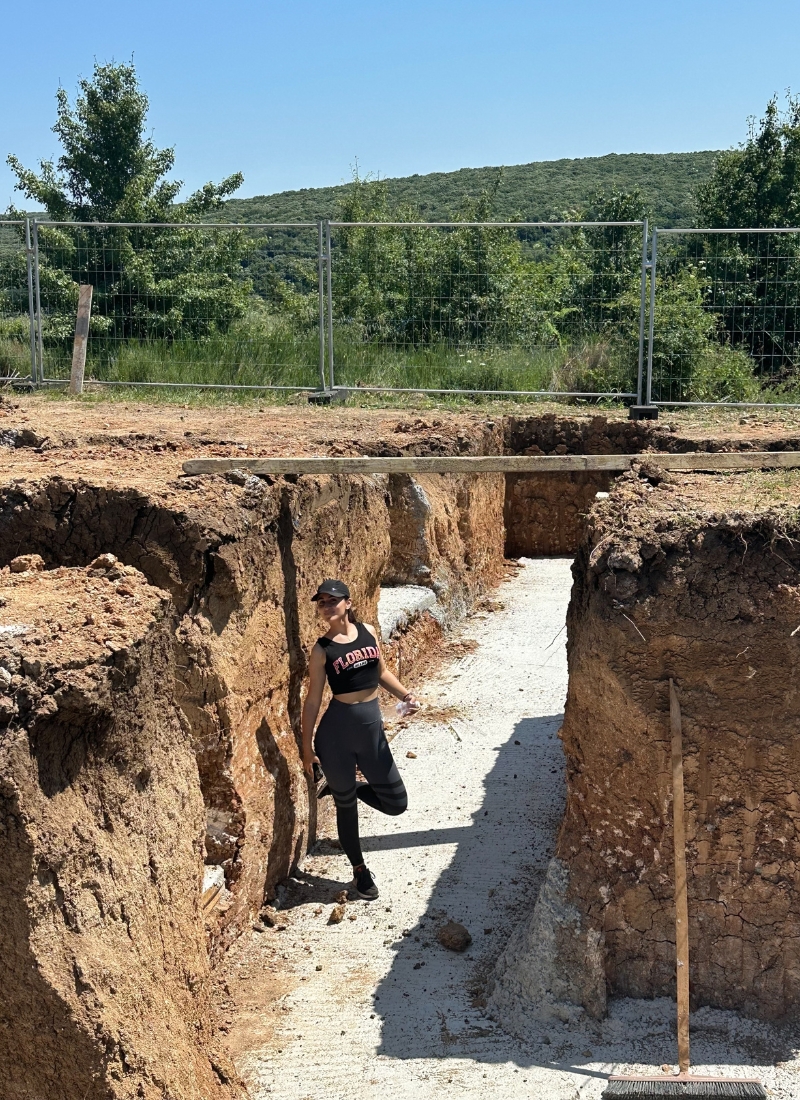
Problem or… Opportunity?
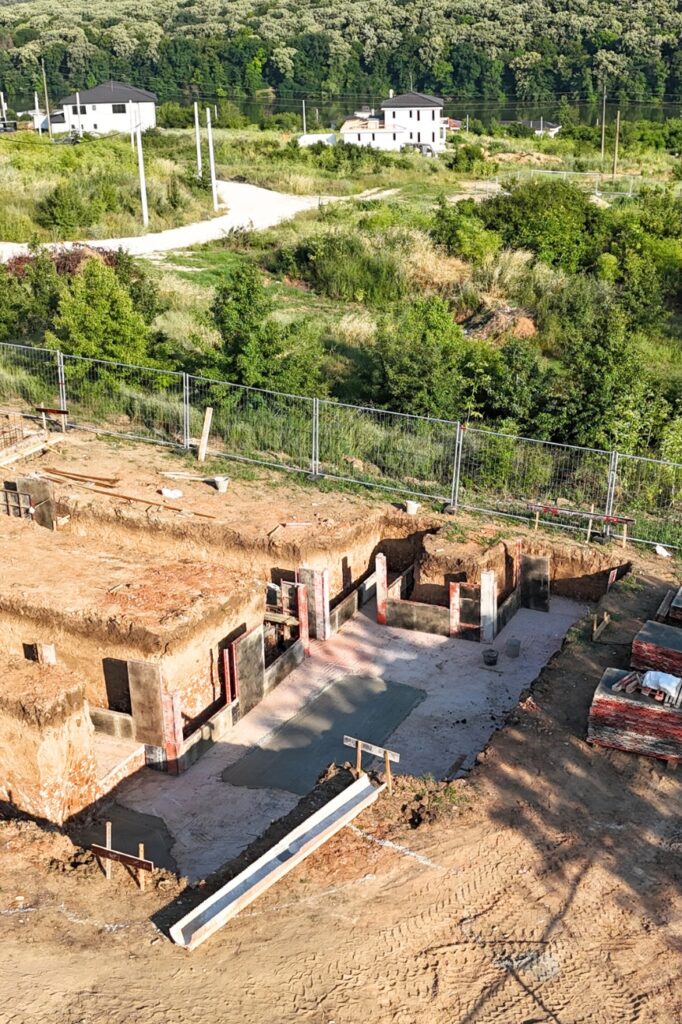
Then came the digging. And our first “uh-oh.”
The soil? Rock solid.
The plan? Dig deep—especially at one end of the house.
We tried adjusting the plans. We really did. But sometimes, the ground decides for you.
Result: a massive hole.
Question: what now?
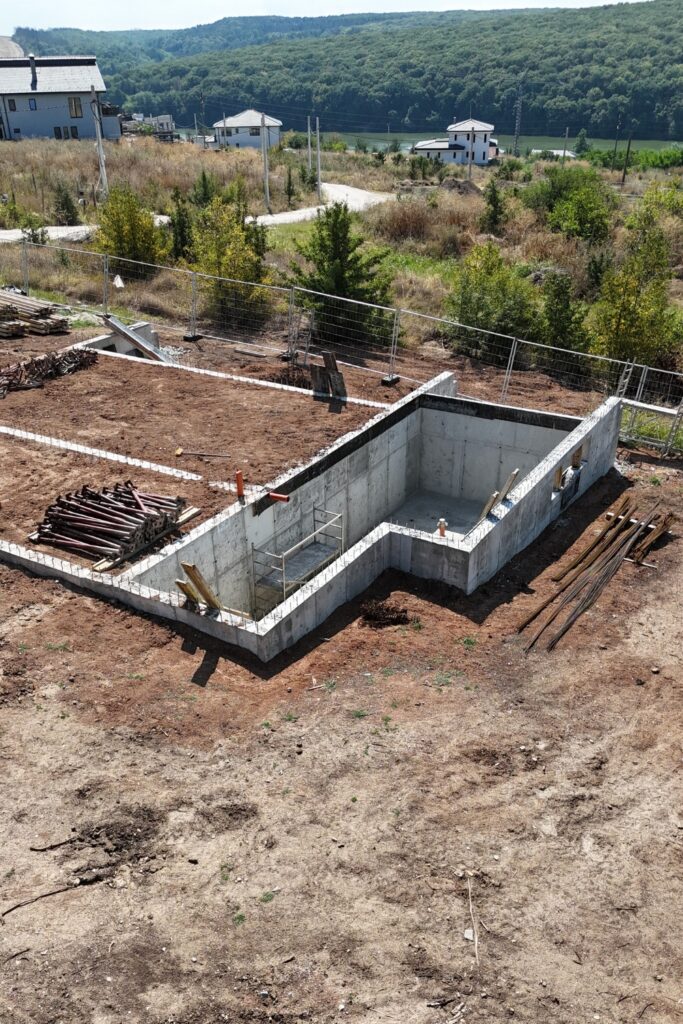
Answer: we built a basement. Thirty square metres of bonus space in the deepest part of the house.
Honestly? This turned out to be the best “problem” we’ve faced so far.
And the more we looked at the architectural plans, the more obvious it became: a basement wasn’t just helpful. It was basically necessary.
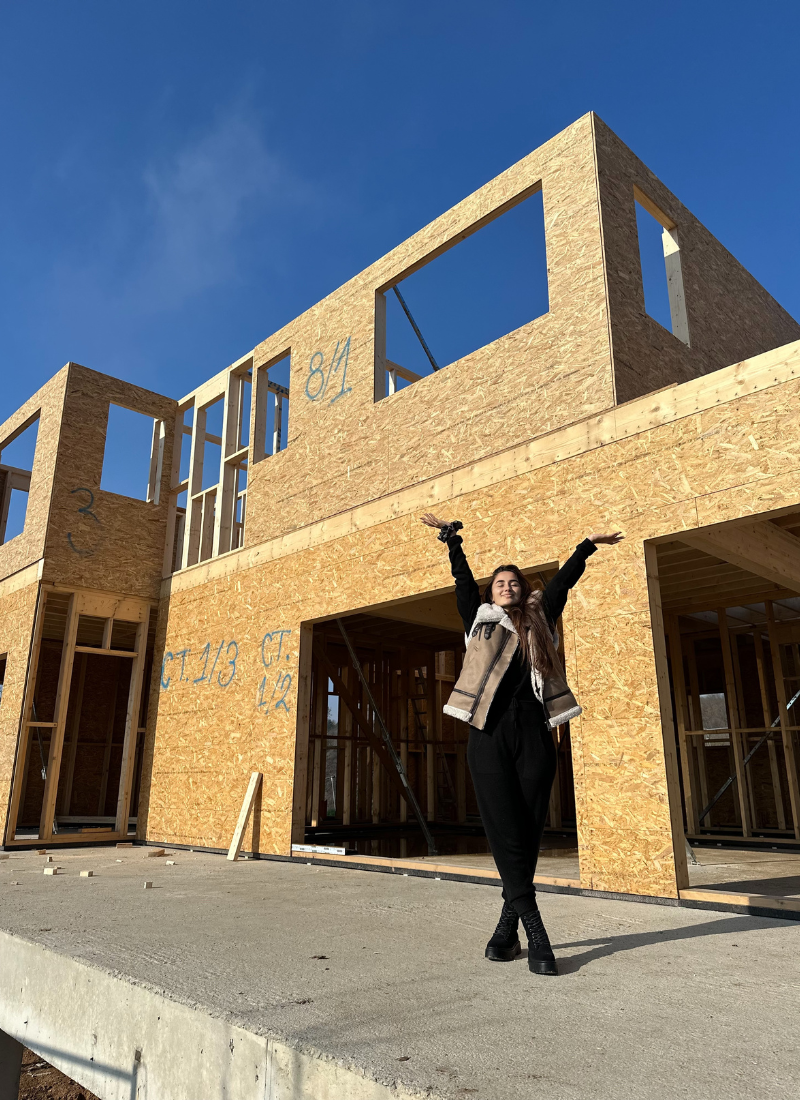
First Outline of Our Future Home
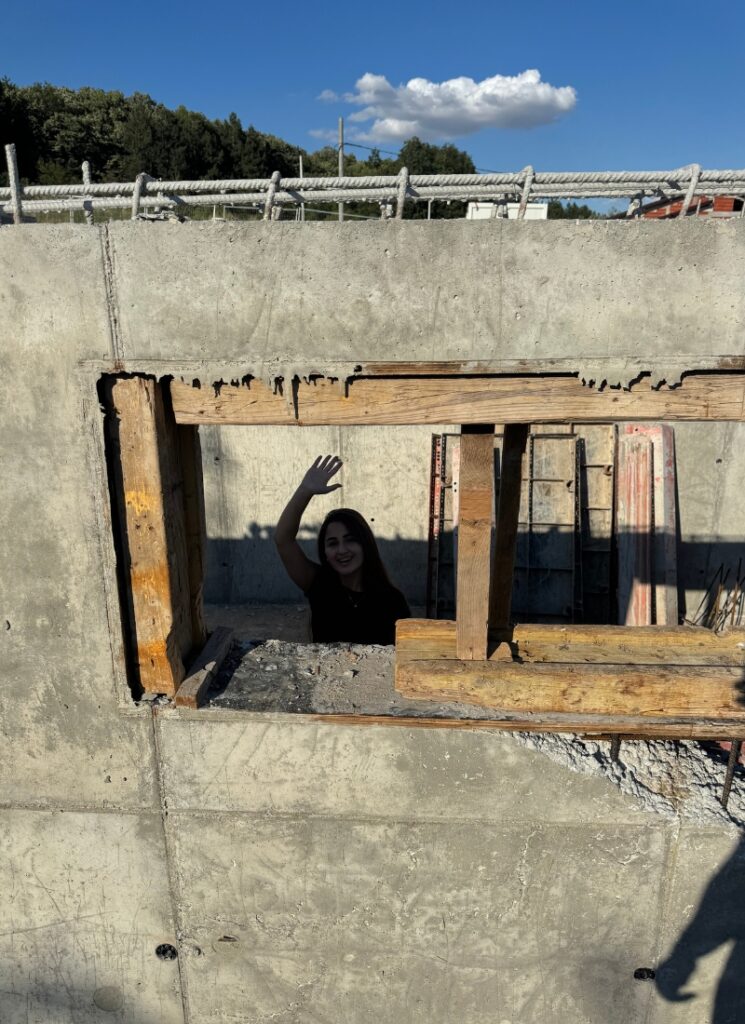
Exciting detail alert: the first basement window is in!
Size: 60 x 200 cm.
Impact: immeasurable wow.
Seeing that little rectangle in real life made everything feel so real.
We’re not just planning anymore—we can literally see the outline of our home.
Foundation Insulation (and a Tiny Waterproofing Secret)

Next up: the foundation.
Here’s the truth—we didn’t plan to put insulation under the concrete slab.
Yep, rookie move.
But after a few chats with our builders (and some friends who already built their homes), we realized… oh, we need that.
So, we paid a little extra. And we added it.
Biggest benefit? In winter, the slab won’t freeze our toes off. Totally worth it.
And you might be wondering: “Wait, no waterproofing on the foundation walls?”
Nope. Our builder uses a concrete additive (Penetron) that acts like waterproofing.
When water hits the foundation, the additive activates, repelling moisture and blocking water.
Cool, right?
More Insulation Changes
If you think we were done with insulation… nope! What We’ll change later on with the wooden house.
Originally, the plan was EPS outside, mineral wool inside.
But then we thought—why not go one step better?
Enter: rockwool insulation.
It’s pricier (of course), but it’s also superior for both heat and sound.
So yes, we’re going for stone wool inside and out.
Window Shuffle
And then… we changed the windows.
We closed the small living room window near the kitchen and extended the one above the sink all the way to the floor.
Why? The kitchen layout changed, and a window right above the sink—especially at the house entrance—just didn’t feel right.
Upstairs, we’re enlarging a bedroom window that faces the backyard.
And nope, no TVs in the bedrooms—so don’t worry about wall space.
In short: small tweaks, big improvements.
Also feel free to comment suggest what might be good to change during the process.
Timber Frame Construction – Our Conscious Choice
Once the foundation is poured, the timber frame crew moves in.
We went with a timber frame house after a lot of research. Why?
- Excellent thermal and sound insulation
- Energy efficiency
- Natural warmth and coziness (thank you, wood!)
- Quick build—about 3–4 months
But with timber frame, choosing the right builder is everything.
Our builder uses certified German spruce—kiln-dried, impregnated, pest-protected.
Untreated wood? A big no-no.
Pro tip: always check the certifications and markings on your beams. They tell you exactly where the wood comes from.
House Layout – A Quick Tour
My favorite part—the layout! Here’s the tour:
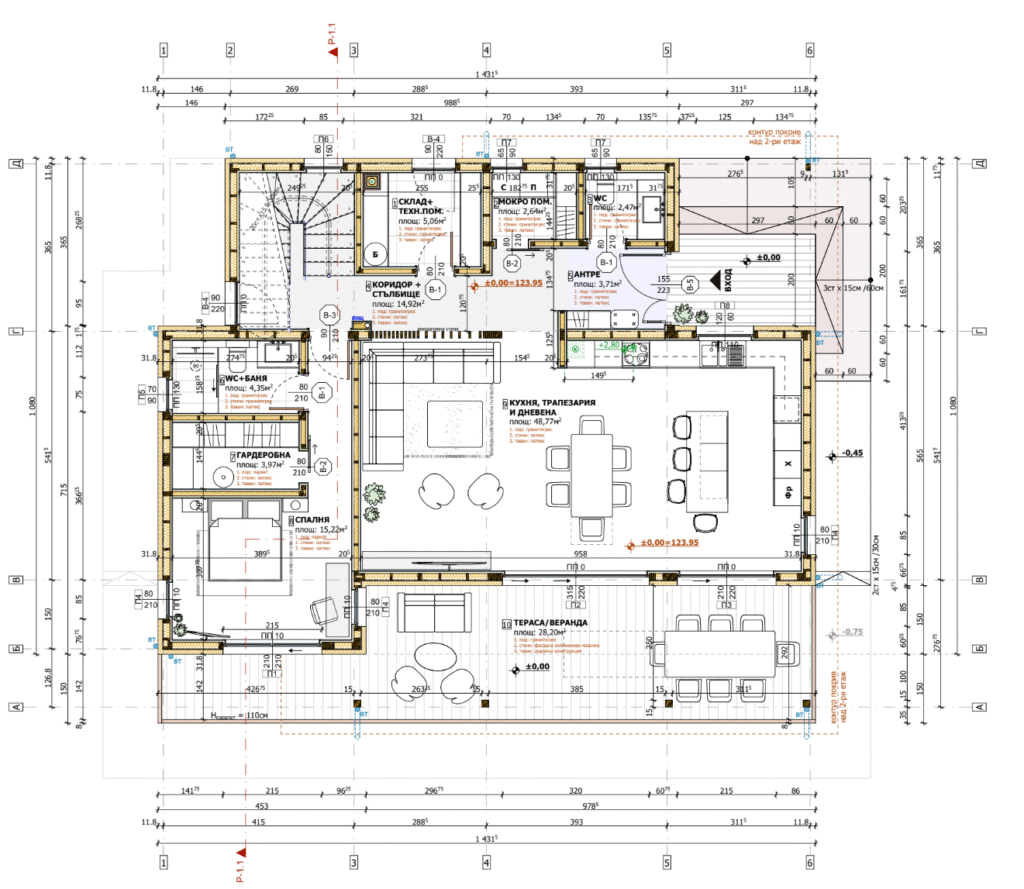
Ground Floor
- Entrance hall – 3.71 m²
- Guest WC – 2.47 m² (no shower)
- Utility room – 2.64 m²
- Storage – 5.06 m² (door to the parking space = easy shopping bag drop-off)
- Stairs – 20 steps, 110 cm wide (to both the basement and the first floor)
Bedroom
- Bathroom & WC – 4.35 m²
- Walk-in wardrobe – 3.97 m²
- Sleeping area – 15.22 m²
Living Room – 48.77 m²
- Open-plan kitchen with island, dining area, sofa corner
- Veranda – 28.20 m² (runs the full length of the house!)
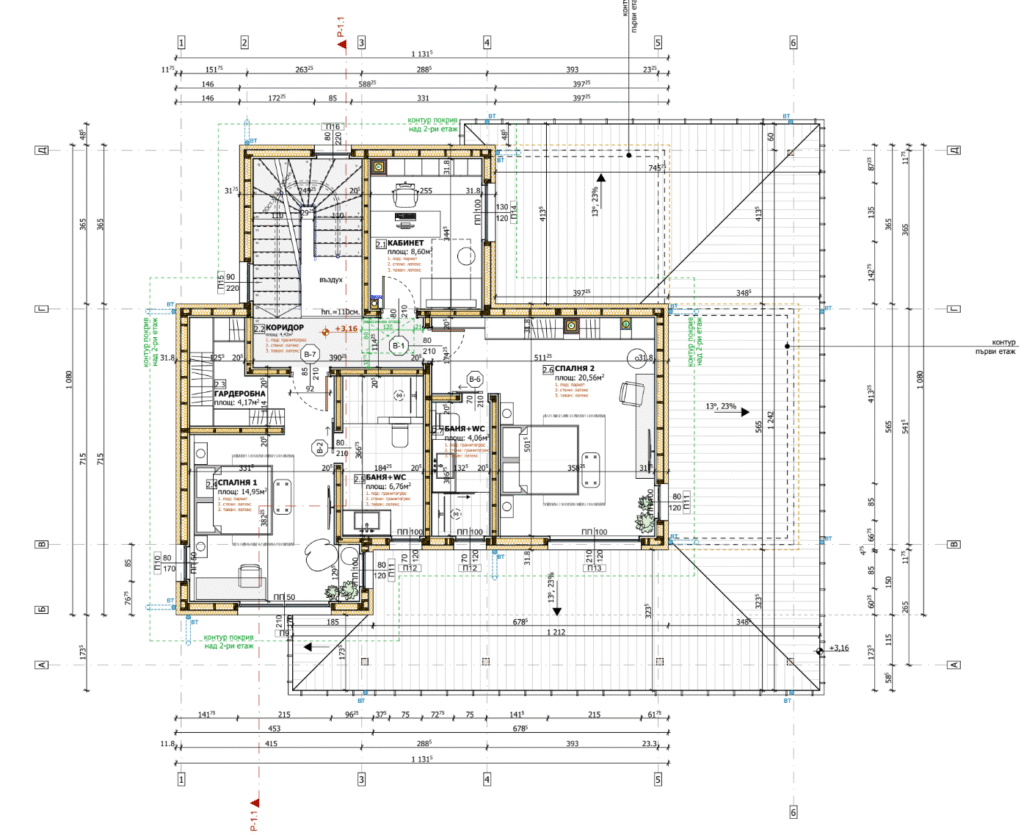
First Floor
- Corridor – 4.92 m²
- First bedroom – 14.95 m²
- Walk-in wardrobe – 4.17 m²
- Bathroom – 6.76 m²
- Second bedroom
- Bathroom & WC – 4.06 m²
- Office – 8.60 m² (sofa = instant guest room)
Underfloor Heating – Comfort That’s Worth It
Confession: we hadn’t planned enough space for underfloor heating.
Yes, we’re doing underfloor heating.
Why? Because it’s heaven. Warm, cozy, efficient heaven.
It’s an investment up front, sure. But lower energy bills and consistent comfort for years? We’ll take it.
The only catch: the system needs space—pumps, pipes, the works.
Which is why that 30 m² basement? It’s now the perfect utility room.
And ladies, you’ll get me here—it’s basically a dream to have all that extra room for systems and storage.
What’s Next


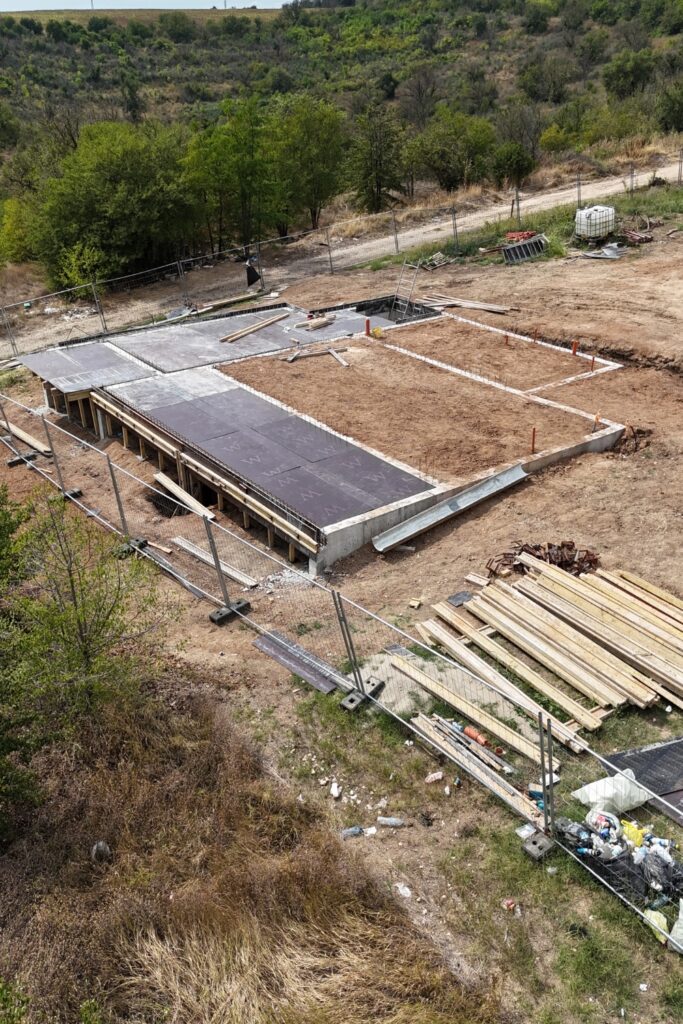
Right now, we’re in the final stage of the foundation—formwork, rebar, and prepping for the concrete slab.
If the weather plays nice, we’ll wrap this phase up by the end of August.
Even though the foundation isn’t 100% done, it already feels like we’re walking—mud and all—straight toward our dream home.
And one day soon, I’ll be sipping coffee on that veranda.
Until then, plenty of house-building photos and videos are going up on Instagram.
Come join the ride—I’ll be waiting for you there!
FAQ
Why is the foundation of a house important?
Think of the foundation as your home’s invisible superhero cape. You rarely see it, but it’s doing all the heavy lifting.
It carries the entire weight of the house, keeps it level, and stops things like soil movement, rain, and frost from ruining your day.
No solid foundation = no solid house. Simple as that.
How thick is the foundation of a house?
It depends on the design, the soil, and the type of house you’re building. For most single-family homes, the concrete slab itself is usually 15–30 cm (6–12 inches) thick. Our is 20 cm.
Add footings—the wider, thicker concrete that spreads the weight—and suddenly, your foundation isn’t just a flat slab, it’s a chunky, layered support system.
How much does the foundation of a house cost?
Here’s the thing: foundations aren’t cheap because they include everything—excavation, concrete, rebar, waterproofing, insulation, and all that prep work you never see again once the slab is poured.
In our case? About $50,000 USD. That includes absolutely everything.
But keep in mind: our foundation is deep—3 metres—and the footprint is around 125 m² (that’s roughly 1,345 ft²).
If your plot is flat and your foundation is shallow, the cost could be much lower.
How deep is the foundation of a house?
Most houses don’t go crazy deep—0.5 to 2 metres is common, depending on frost lines, soil type, and structural needs.
But ours? A whopping 3 metres deep, because of the slope of our land and the structural requirements.
The upside? That depth gave us the perfect excuse to add a 30 m² basement, which we now treat as a bonus utility room + storage heaven.


So fun to follow this journey ❤️
Glad you liked it Ida xx
What an amazing journey! Can’t wait to see what’s next 👏🏼
Thank you so much Maria! We’ll post update very soon!xx
This is so cool that you are getting to create your dream home from the ground up! Can’t wait to continue seeing this unfold.
Thank you Val! I’m so glad you love it!
Love your blogs Jully
Thank you Mel <3
Love seeing the journey and the details you go into! Excited to see it all finalise
Hihi, thank you Maria! We absolutely can’t wait either! Especially when they start building the wooden house!
Oh my god this is so exciting!!! I cannot wait for more!
Thank you Ellie, things are going soo slow at the moment, but hopefully we’ll have more content to share! <3
This was such an interesting read! I loved seeing the foundation come together in the images, I have no idea what the process of building a house looks like so I’m excited to follow along with this journey !! 💗
Thank you so much for the kind words Stacey! We’re aalmost done with the first part <3
wow wow wow what a project! Cant wait to follow and see more, just loved reading this 🫶🏻 congrats!! Xxx
Thank you so much Stevie! Definitely will have more to come very soon!