Hey all! My name is Julia, former college student and a home decor enthusiast who loves DIY home improvement projects and finding creative ways to decorate any living spaces on a budget. Recently moved from my dorm to my new apartment which I renovated from scratch and I am here to help you with tips & tricks about home decor/college and more 🙂
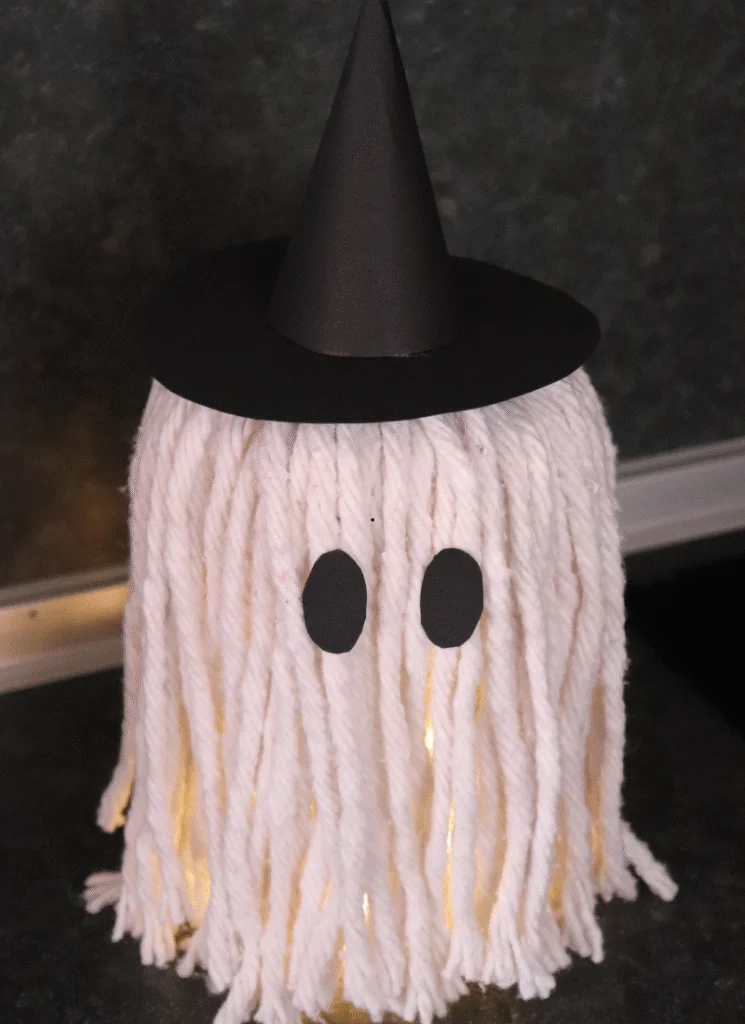
I wanted a cute, quirky Halloween decoration I could finish in one sitting—no sewing, no carving, just vibes. This glowing ghost checks all the boxes and looks adorable day and night. Below is exactly how I made it, step by step, using the photos you see here.
What I used
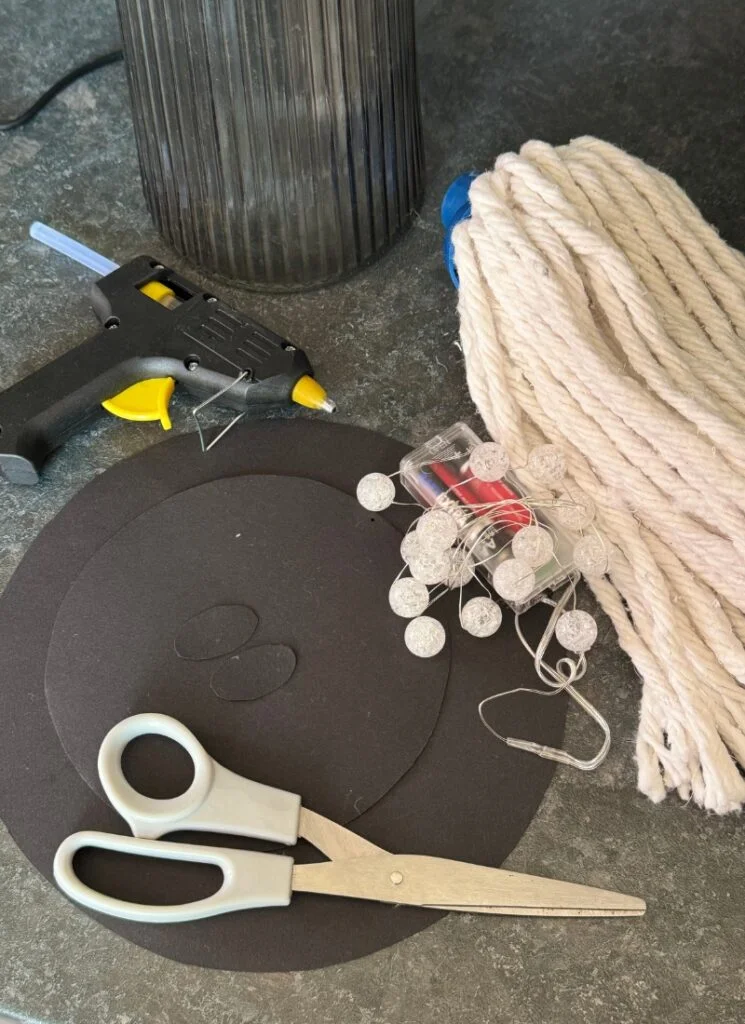
- A glass vase (cylinder works great)
- A mop head with thick fringe (cotton yarn style)
- Black paper/cardstock for the hat + eyes
- Battery-powered string lights (LED)
- Scissors
- Glue (I used a hot-glue gun)
Tip: If you want everything to be removable, use glue dots or double-sided tape instead of hot glue on the vase/mop.
Step-by-step
1) Load up the glow

Drop the battery string lights into the vase and tuck the battery pack toward the back so you can reach the switch later. (LEDs stay cool, which is perfect for this project.)
2) Dress the vase
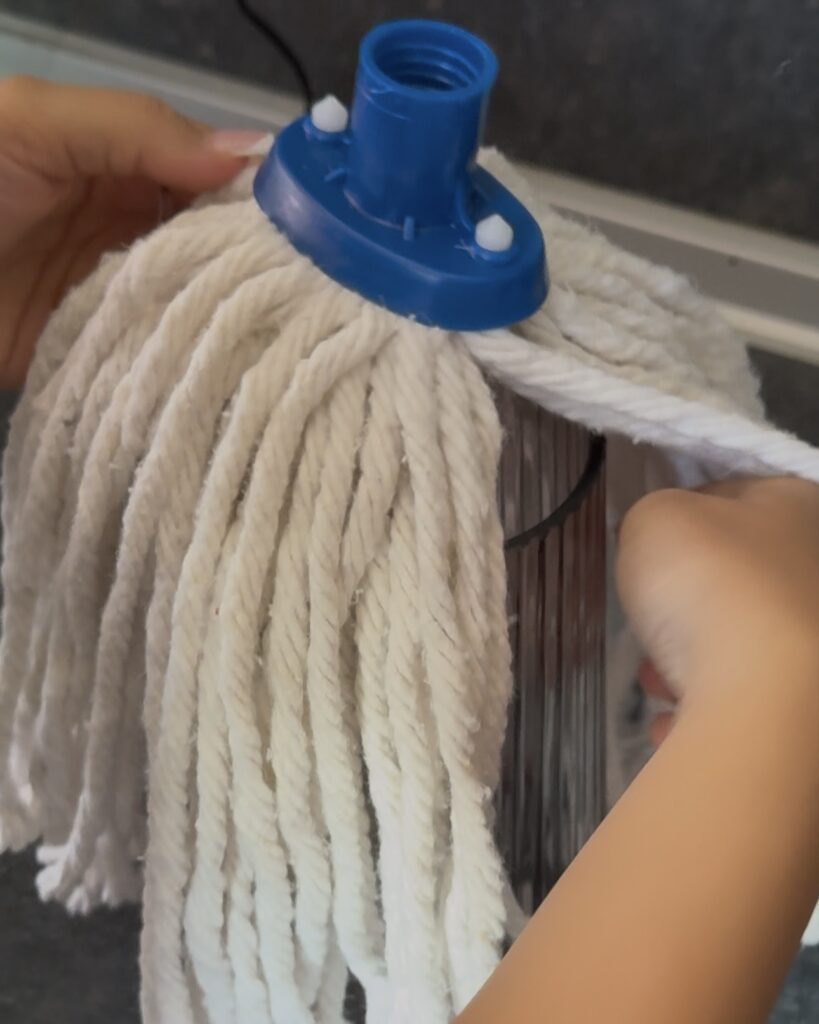
Flip the mop head upside down and drape it over the vase so the fringe falls evenly all the way around. Fluff and arrange the strands until the “ghost body” looks full and covers the glass.
3) Cut the hat pieces
From black paper, cut:
One large circle for the hat brim (a little wider than the top of your “head”).
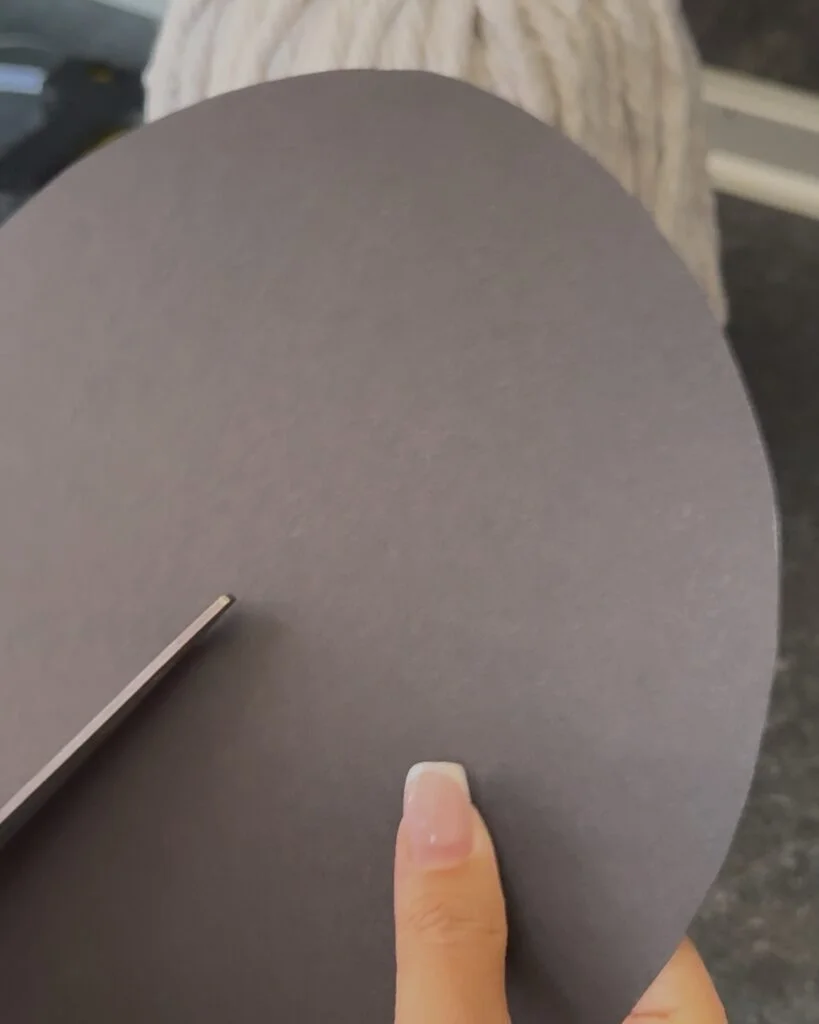
One second circle that you’ll turn into a cone. Snip out a pie-shaped wedge from this circle (like in the photos), then overlap the cut edges and roll into a cone. Trim the base so it sits flat.
Also cut two small ovals for the eyes.
4) Assemble the hat
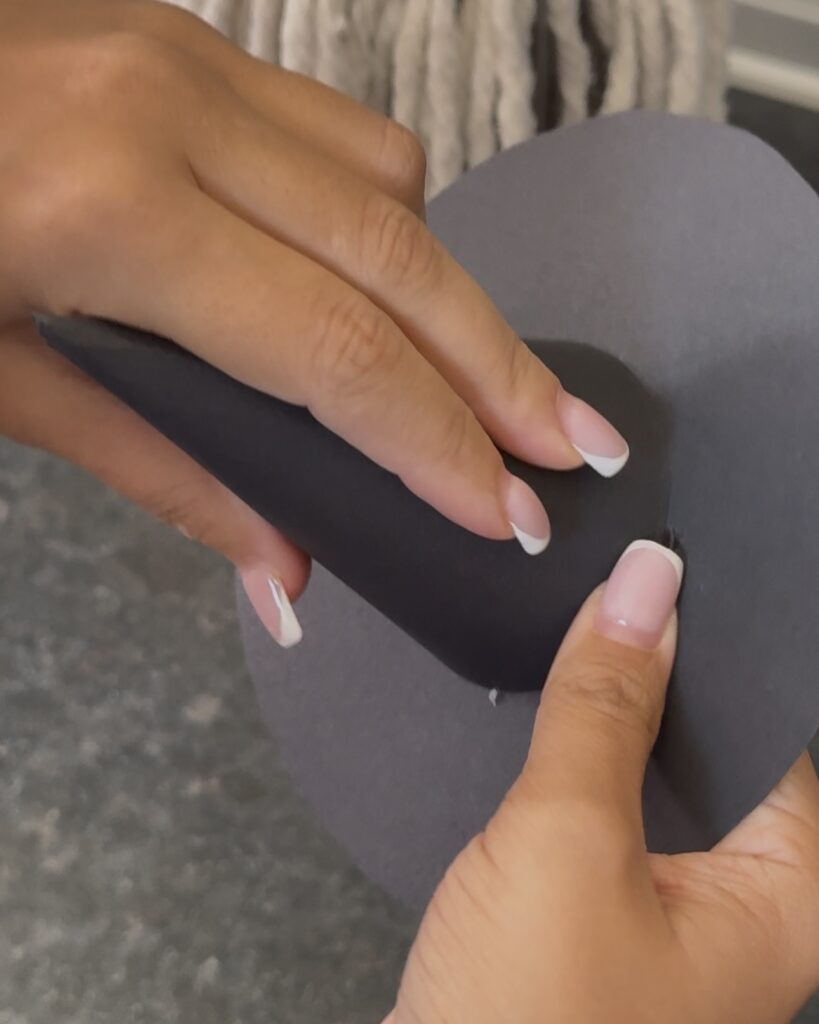
Poke a small hole in the center of the brim or simply glue the cone on top of it. Press and hold until secure. You now have a simple witch hat.
5) Top off your ghost
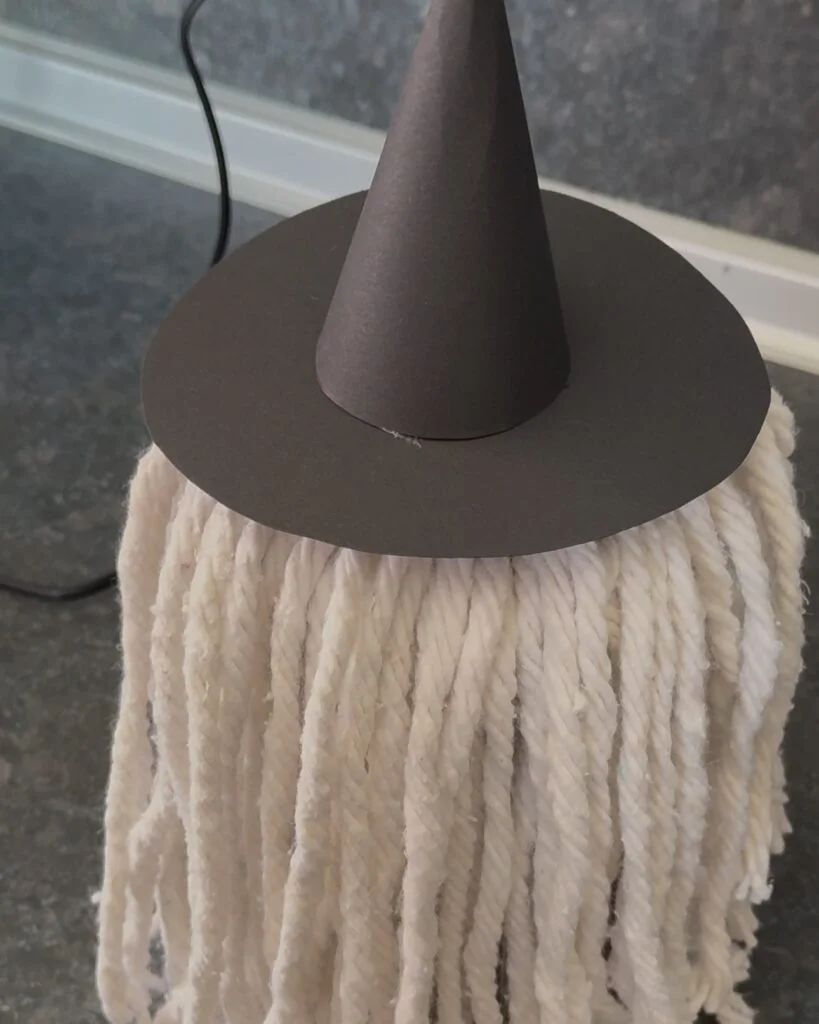
Set the hat on the mop “head.” If you want it permanent, add a tiny dot of glue to the top of the mop cap so the hat stays put.
6) Add the face
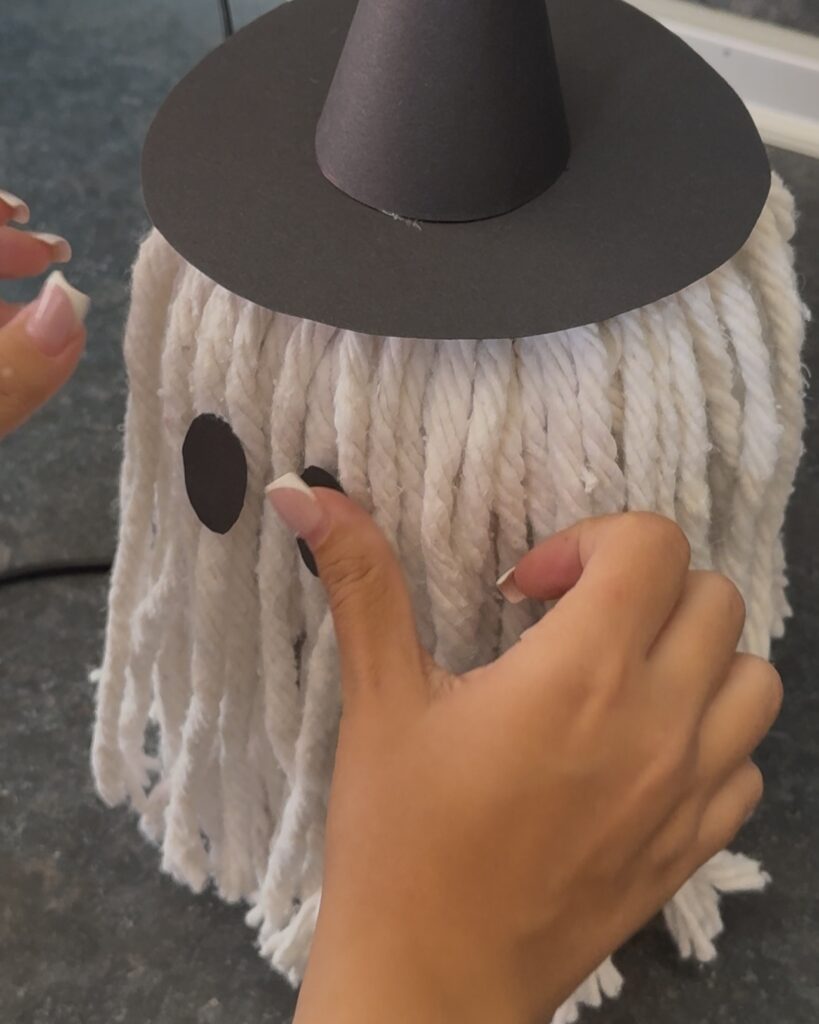
Glue the two black ovals to the front strands for eyes. Space them evenly and press for a second so they stick to the yarn.
7) Final fluff + trim
Comb through the fringe with your fingers, trim any uneven strands, and make sure the lights are centered inside the vase so the glow feels even.
8) Light it up
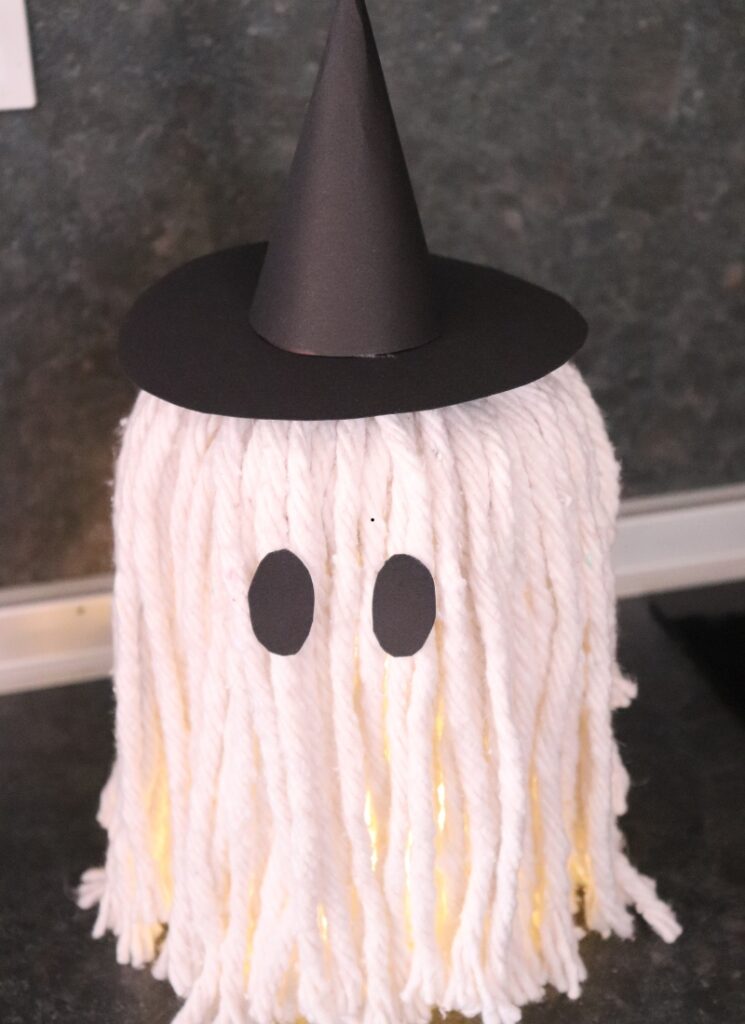
Switch on the battery pack and enjoy your glowing mop-ghost!
Extras & quick tips
Tie a skinny ribbon around the hat or add a tiny paper buckle for a witchy moment.
Want a mouth? Cut a small oval or crescent from black paper and stick it on.
If your vase is slippery, a rubber band around the top (hidden under the mop) can keep things from shifting.
Store the ghost by removing the hat and battery pack, then fold the mop flat.
That’s it—a charming, budget-friendly Halloween craft you can finish in minutes. Happy haunting!