Hey all! My name is Julia, former college student and a home decor enthusiast who loves DIY home improvement projects and finding creative ways to decorate any living spaces on a budget. Recently moved from my dorm to my new apartment which I renovated from scratch and I am here to help you with tips & tricks about home decor/college and more 🙂
I absolutely love making Christmas cookies during the holiday season. Get ready to bake, decorate, and enjoy some delicious holiday treats!

Hey lovelies! With the holiday season upon us, it’s the perfect time to bake some festive Christmas cookies!
These cookies are not only delicious but also a joy to decorate, making them a perfect activity for the whole family.
So, let’s get into the holiday spirit and start baking!
Must-Have Ingredients

First things first, let’s gather our ingredients.
Here’s what you’ll need for the basic cookie dough:
- For the cookies:
- 250g all-purpose flour
- 1/2 tsp baking powder
- 1/4 tsp salt
- 170g unsalted butter, softened
- 150g granulated sugar
- 1 large egg
- 1 tsp vanilla extract
- 1/2 tsp almond extract (optional)
- For the royal icing:
- 2 large egg whites
- 500g powdered sugar
- 1 tsp lemon juice
- Food coloring (red, green, and any other festive colors)
- Assorted sprinkles and decorations
The Right Tools for the Job
Before we dive in, make sure you have these tools handy:
- A large mixing bowl
- A medium mixing bowl
- A whisk and a spatula
- Rolling pin
- Cookie cutters (stars, trees, snowflakes, etc.)
- Baking sheets
- Parchment paper
- Piping bags and tips
- Cooling rack
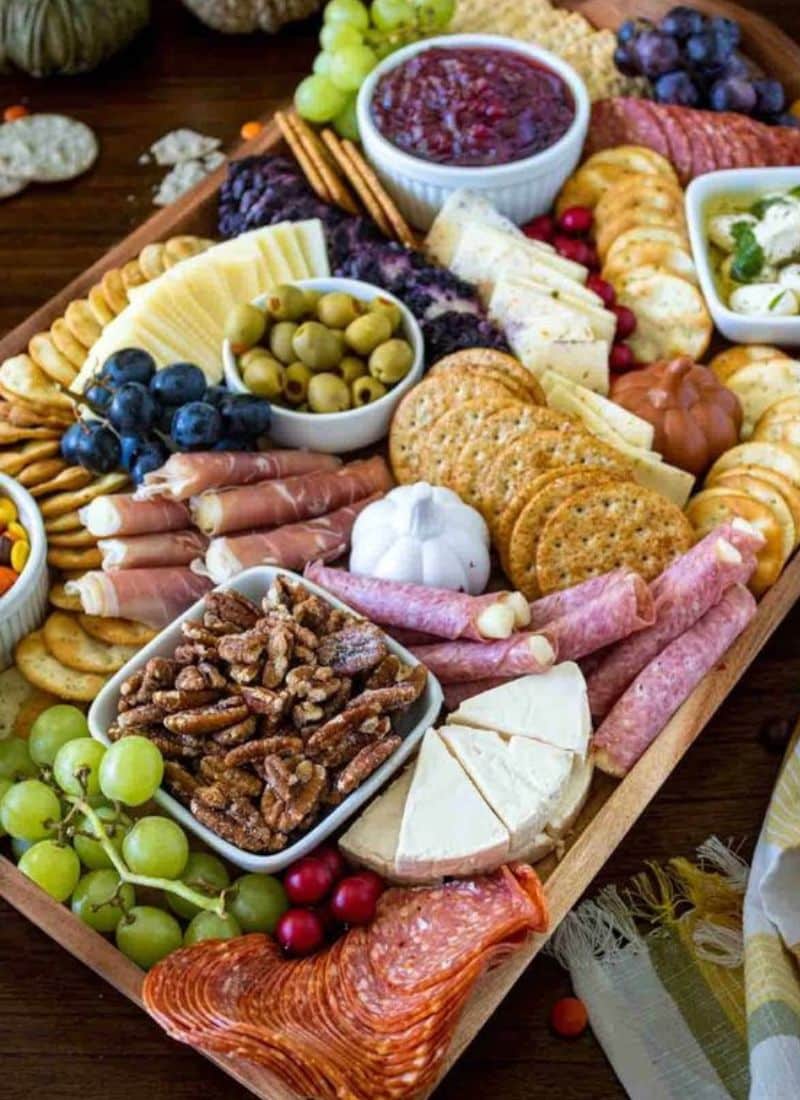
Related: Cinnamon Rolls Recipe for Cozy Mornings and Sweet Treats (With Video)
Step-by-Step Instructions

Mix Dry Ingredients: In a medium bowl, whisk together the flour, baking powder, and salt. Set this mixture aside for later.
Cream Butter and Sugar: In a large mixing bowl, beat the softened butter and granulated sugar together until light and fluffy. This should take about 2-3 minutes.
Add Egg and Extracts: Beat in the egg, vanilla extract, and almond extract (if using) until well combined. The almond extract adds a lovely flavor, but it’s optional.

Combine Wet and Dry Ingredients: Gradually add the dry ingredients to the wet mixture, mixing just until combined. Be careful not to overmix, as this can make the cookies tough.

Chill the Dough: Divide the dough in half, flatten each half into a disk, wrap in plastic wrap, and refrigerate for at least 1 hour. Chilling the dough makes it easier to roll out and helps the cookies hold their shape.

Preheat your oven to 350°F (175°C) and line your baking sheets with parchment paper. This will ensure your cookies don’t stick and bake evenly.
Roll and Cut the Dough: On a lightly floured surface, roll out one disk of dough to about 1/4 inch thickness. Use your favorite cookie cutters to cut out shapes and place them on the prepared baking sheets.

Bake: Bake the cookies in the preheated oven for 10-12 minutes, or until the edges are lightly golden. Keep an eye on them towards the end to avoid overbaking.
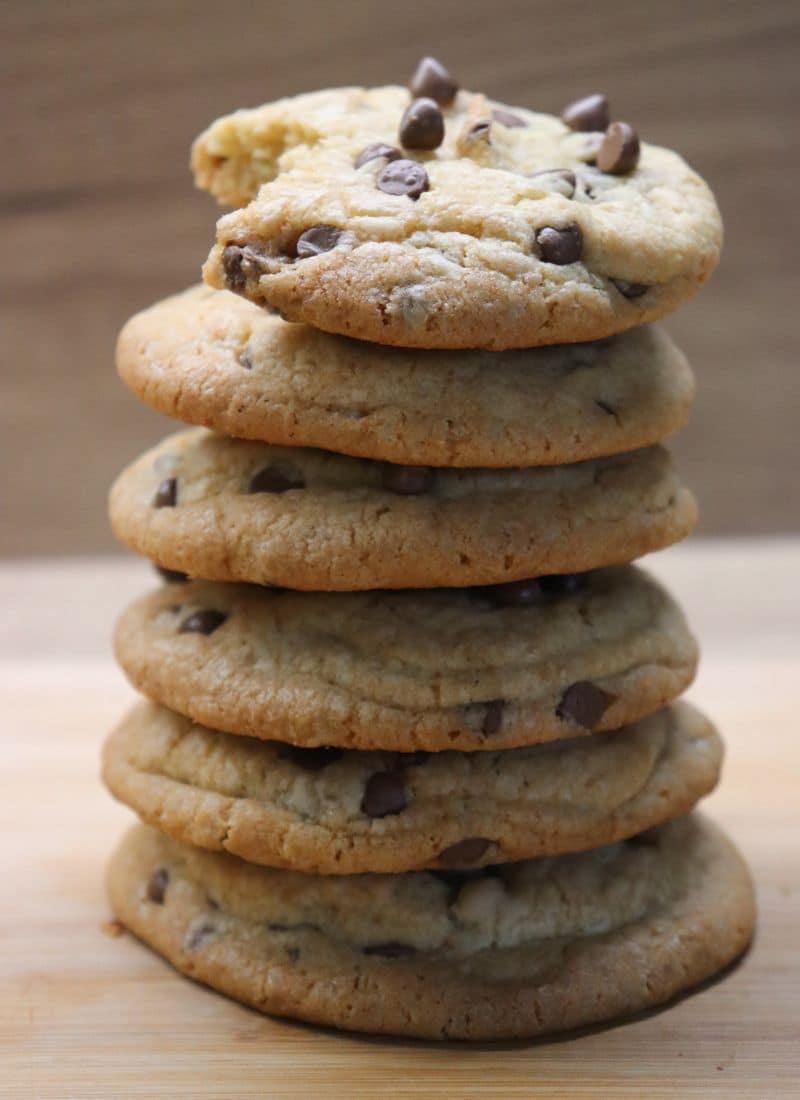
Related: Chocolate Chip Cookies Recipe Perfect for Sharing (or Not!)

Cool: Allow the cookies to cool on the baking sheets for about 5 minutes, then transfer them to a cooling rack to cool completely. Make sure they are completely cool before decorating.
Prepare Royal Icing: In a large mixing bowl, beat the egg whites until frothy. Gradually add the powdered sugar and lemon juice, and beat until the icing is smooth and holds stiff peaks.
Divide the icing into bowls and add food coloring as desired.


Decorate: Transfer the icing to piping bags fitted with small round tips. Decorate your cookies with festive designs, adding sprinkles and other decorations as desired. Let the icing set completely before storing or serving.
Special Touches

Want to add a little extra flair? Here are some ideas:
- Glitter and Sparkle: Use edible glitter to add a festive sparkle to your cookies.
- Flavor Variations: Add a teaspoon of cinnamon or nutmeg to the dough for a warm, spiced flavor.
- Personalized Cookies: Write names or holiday messages on the cookies with icing for a personal touch.
Serving and Storage
These cookies are perfect for holiday parties, gift-giving, or just enjoying with a cup of hot cocoa.
Store them in an airtight container at room temperature for up to a week.
If you want to keep them longer, you can freeze the undecorated cookies and decorate them when needed.
Serving Suggestions

Here are a few ways to enjoy your Christmas cookies:
- Cookie Exchange: Host a cookie exchange party where everyone brings a batch of their favorite cookies to share.
- Gift Boxes: Pack the cookies in decorative boxes or tins to give as gifts to friends and family.
- Cookie Decorating Party: Set up a decorating station with icing, sprinkles, and other decorations for a fun holiday activity.
And there you have it!
Festive, delicious, and fun-to-make Christmas cookies that will bring joy to your holiday season.
Enjoy every bite and don’t forget to share the love (and the recipe) with your friends!
Happy baking!
PrintChristmas Cookies
A Christmas cookies recipe is your go-to for festive, delicious treats that bring holiday cheer. With a variety of shapes, colors, and flavors, these cookies are perfect for sharing with family and friends. Easy to make and fun to decorate, they add a sweet touch to your holiday celebrations.
- Total Time: 1 hr 30min
- Yield: 40 1x
Ingredients
- For the cookies:
- 250g all-purpose flour
- 1/2 tsp baking powder
- 1/4 tsp salt
- 170g unsalted butter, softened
- 150g granulated sugar
- 1 large egg
- 1 tsp vanilla extract
- 1/2 tsp almond extract (optional)
- For the royal icing:
- 2 large egg whites
- 500g powdered sugar
- 1 tsp lemon juice
- Food coloring (red, green, and any other festive colors)
- Assorted sprinkles and decorations
Instructions
- Preheat Oven: Preheat your oven to 175°C (350°F). Line baking sheets with parchment paper.
- Mix Dry Ingredients: In a bowl, whisk together 250g all-purpose flour, 1/2 tsp baking powder, and 1/4 tsp salt. Set aside.
- Cream Butter and Sugar: In a large bowl, beat 170g softened unsalted butter and 150g granulated sugar until light and fluffy (about 2-3 minutes).
- Add Egg and Extracts: Mix in 1 large egg, 1 tsp vanilla extract, and 1/2 tsp almond extract (if using) until well combined.
- Combine Ingredients: Gradually add the dry ingredients to the wet mixture, mixing until just combined. Do not overmix.
- Chill Dough: Divide the dough in half, flatten into disks, wrap in plastic wrap, and refrigerate for at least 1 hour.
- Roll and Cut: On a lightly floured surface, roll out dough to about 1/4 inch thickness. Use cookie cutters to cut out shapes and place them on prepared baking sheets.
- Bake: Bake cookies in the preheated oven for 10-12 minutes, or until edges are lightly golden. Keep an eye on them to avoid overbaking.
- Cool: Allow cookies to cool on the baking sheet for 5 minutes, then transfer to a wire rack to cool completely.
- Decorate: Once cooled, decorate cookies with icing, sprinkles, and other festive decorations. Enjoy your beautifully decorated Christmas cookies!
- Royal Icing: In a large mixing bowl, beat 2 large egg whites until frothy. Gradually add 500g powdered sugar, beating continuously until smooth and thick. Add 1 tsp lemon juice and continue to beat until the icing is glossy and forms stiff peaks. Divide and color the icing as desired.
Notes
-
Chilling the Dough: Chilling the dough helps to firm it up, making it easier to roll out and cut into shapes. It also prevents the cookies from spreading too much during baking.
-
Rolling the Dough: To prevent sticking, lightly flour your rolling pin and surface. If the dough becomes too soft while rolling, place it back in the fridge for a few minutes.
-
Uniform Cookies: For even baking, try to cut out cookies of similar sizes and thicknesses. If you have different sizes, bake smaller cookies together and larger ones separately.
- Prep Time: 20mins
- Chill Time: 1 hr
- Cook Time: 10-12mins
- Category: Dessert